Before we proceed, here are some prerequisites that you’ll need to implement this guide in real life successfully.
- Android Studio
- Android Development Knowledge
- Internet Connection
External library for implementing Lottie Animation
There are multiple options available on the internet, but this library is the most trusted. We recommend using this only since it is secure and has more features than others.
Step-by-step Guide
We’ve divided instructions into 4 main categories:
- Creating New Project
- Downloading Lottie Animation
- Setting up Dependencies
- Writing Program Statements
1. Creating New Project
For this tutorial, we are starting with an entirely new project to show you how you can add the animation. If you already have a project you are working on, skip ahead to the next step Getting Lottie Animation.
Step 1: Run Android Studio
Step 2: Click on “Create New Project”
Step 3: Select Empty Activity and click on “Next.”
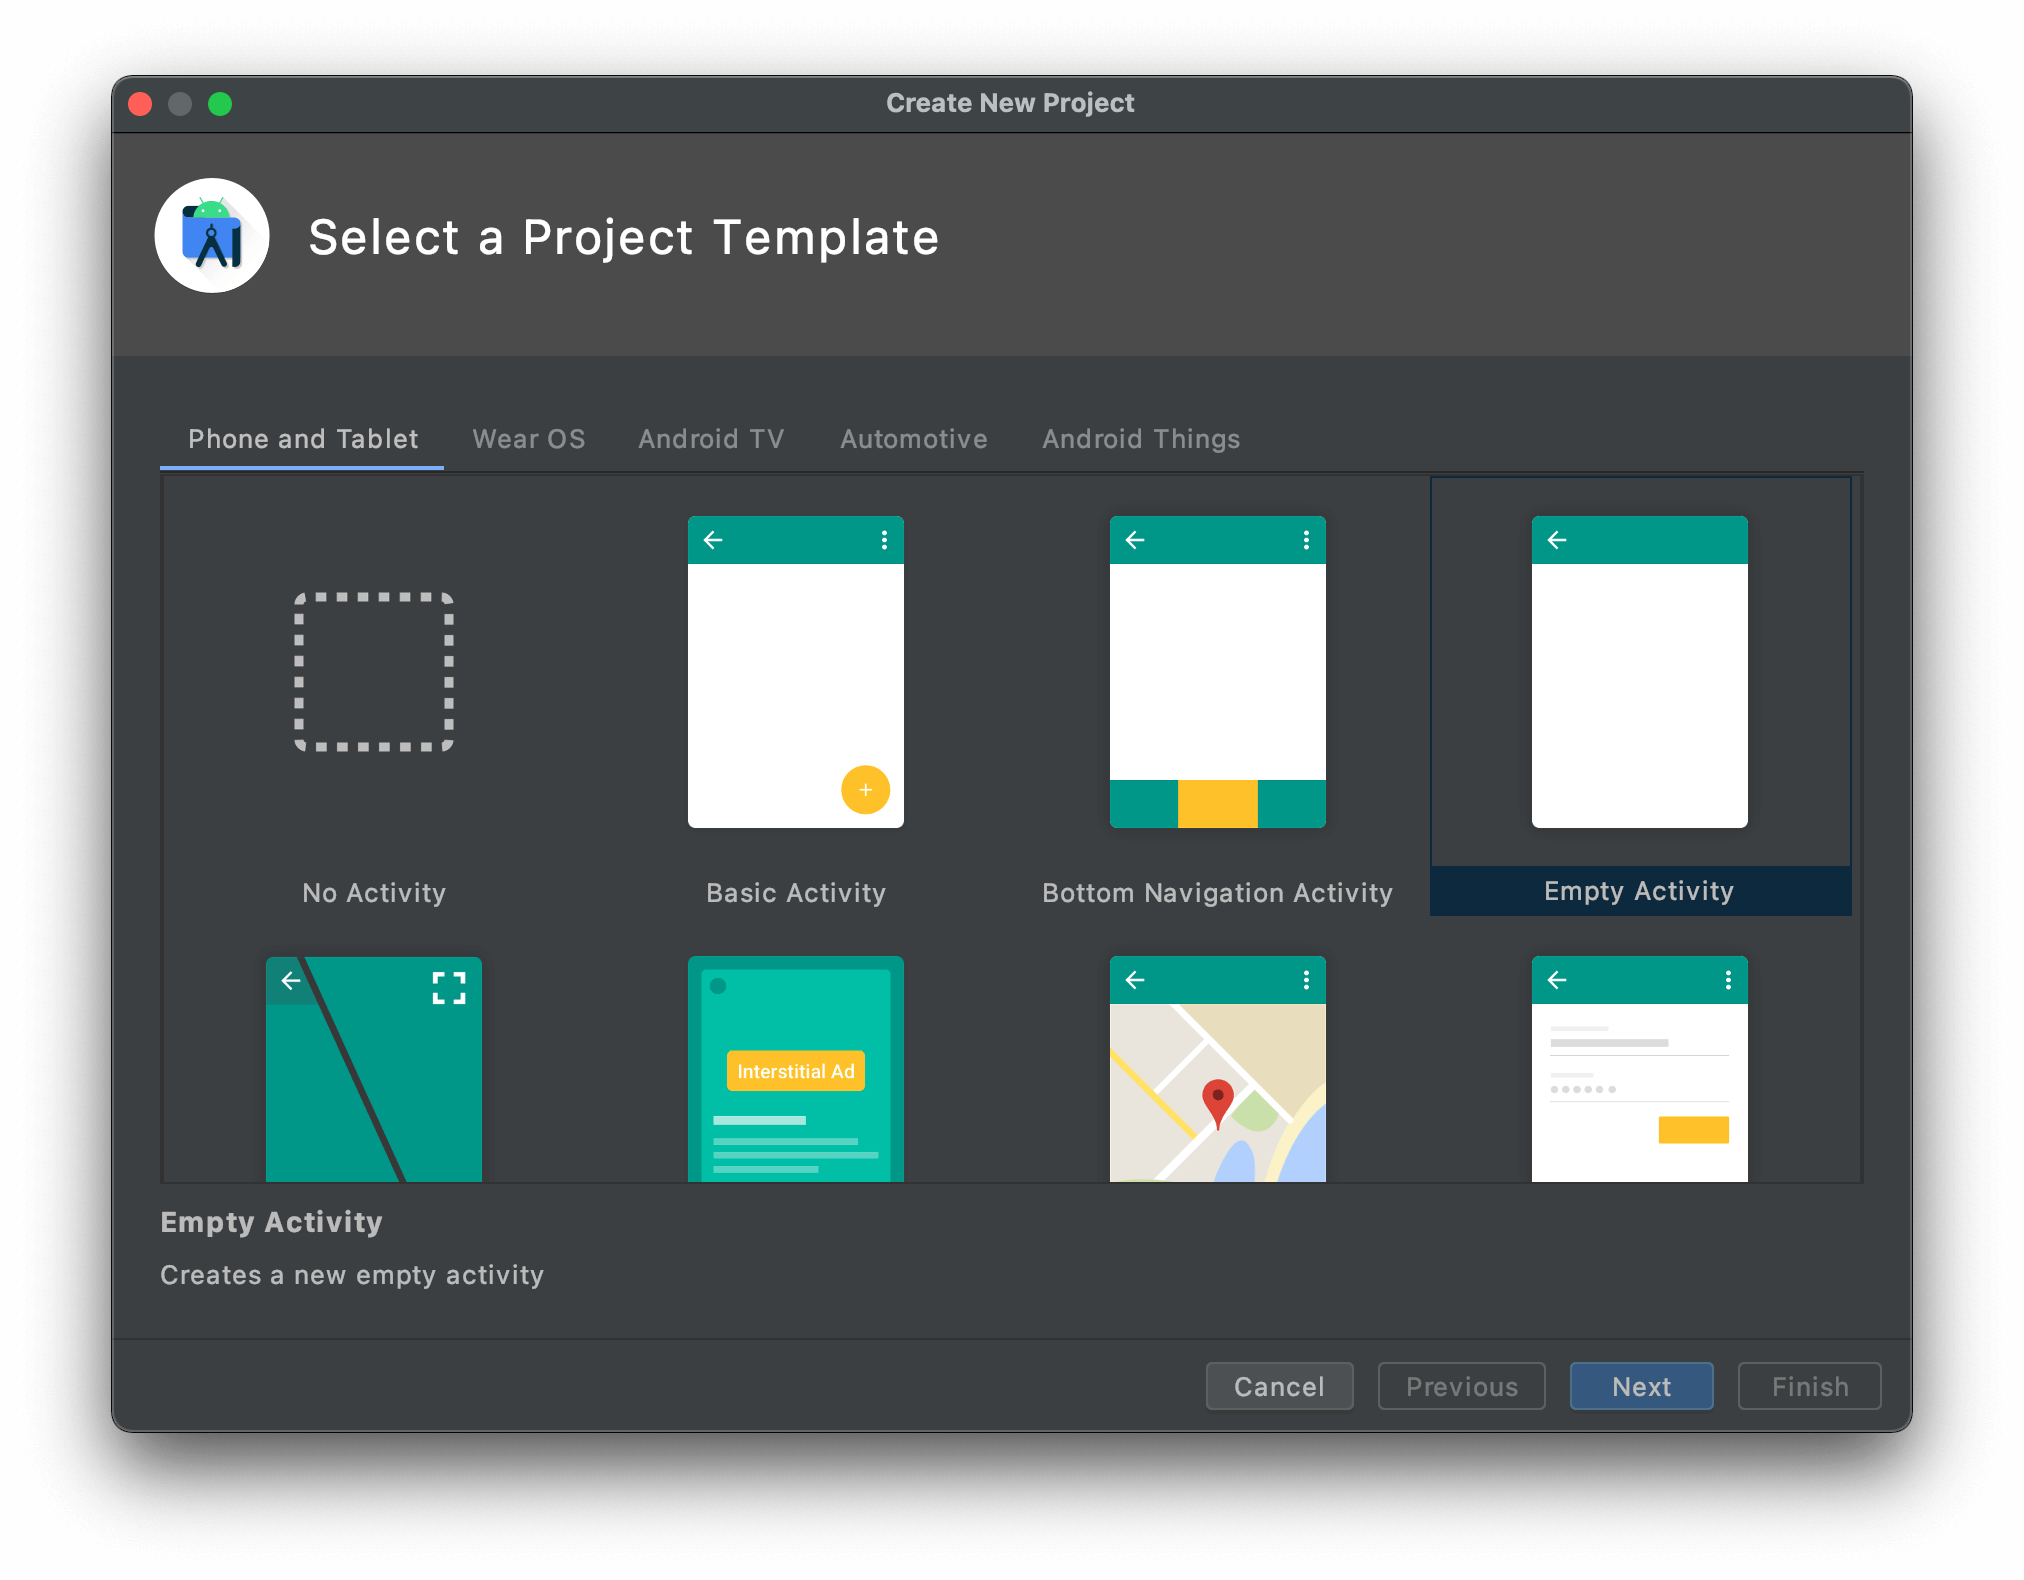
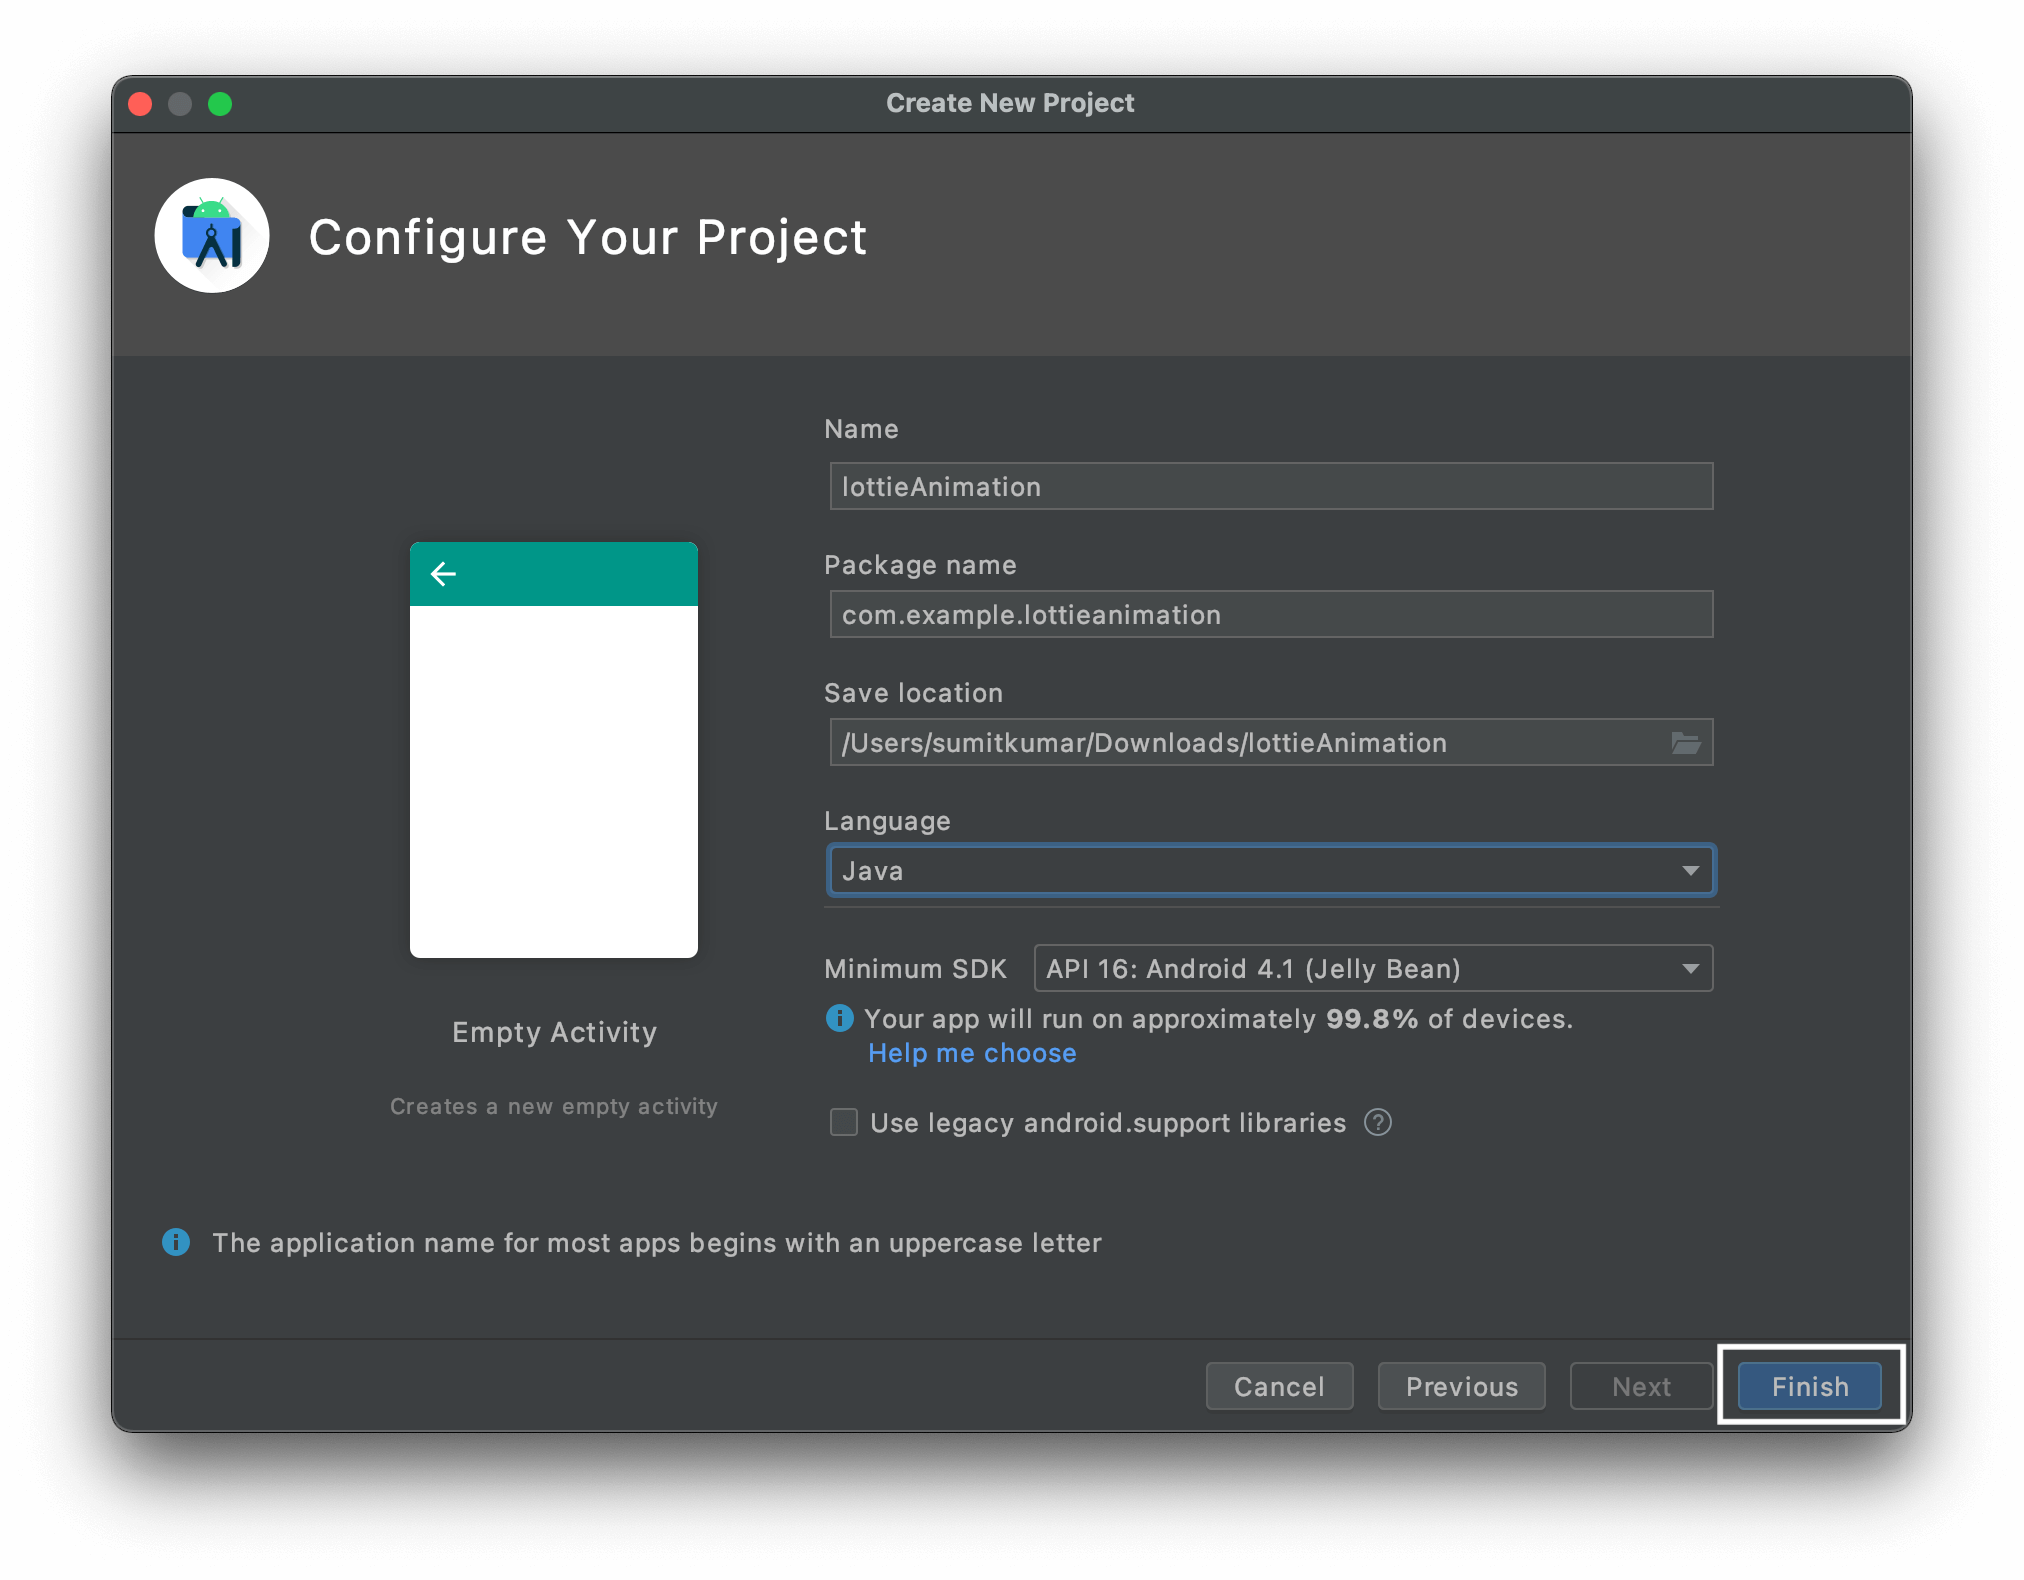
Step 4: Give a name to this project; here, we are naming it as “lottieAnimation” and Click on “Finish”
2. Getting Lottie Animation
There are few ways how to get a Lottie animation file, which comes in JSON format. It might be a case that you are working with a designer, and he/she will provide the animation for you. If that’s not your case and you need to get the animation yourself, you can either download it for free or purchase it. Check out our Lottie animation Market with beautiful ready to use animations.
3. Setting up Dependencies
To have a smooth running animation in our Android project, we need to set up dependencies first. It is crucial to set it up correctly to be able to continue on the next step.
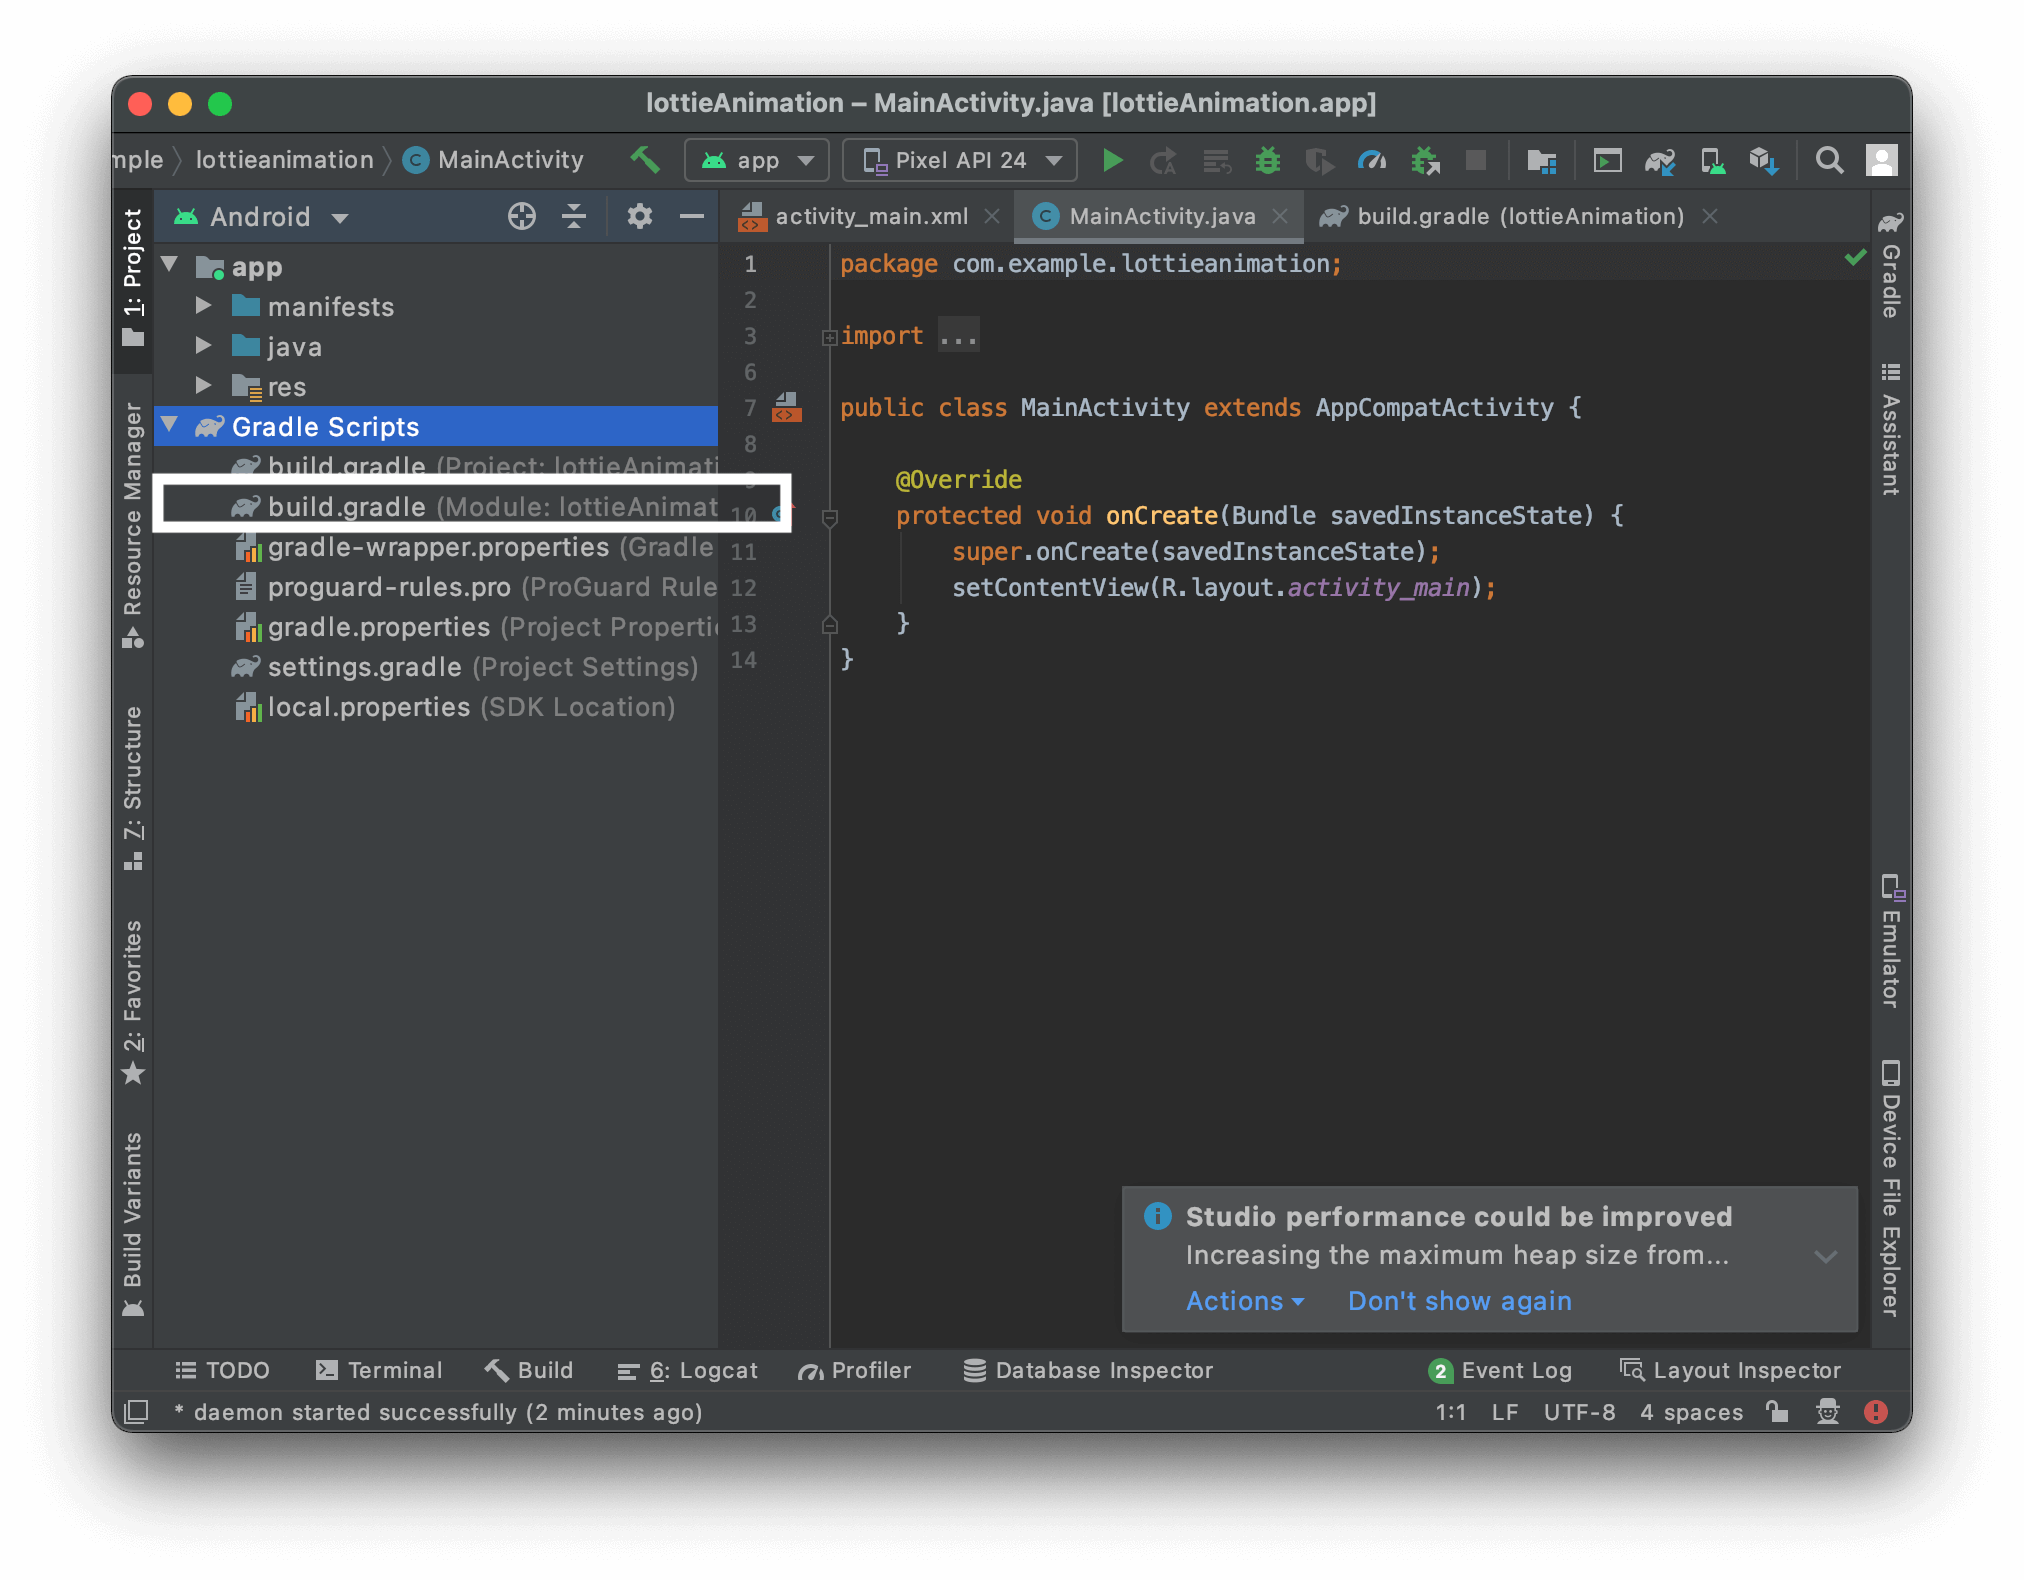
Step 1: Navigate to the left sidebar of Android Studio and Expand the “Gradle Scripts” folder.
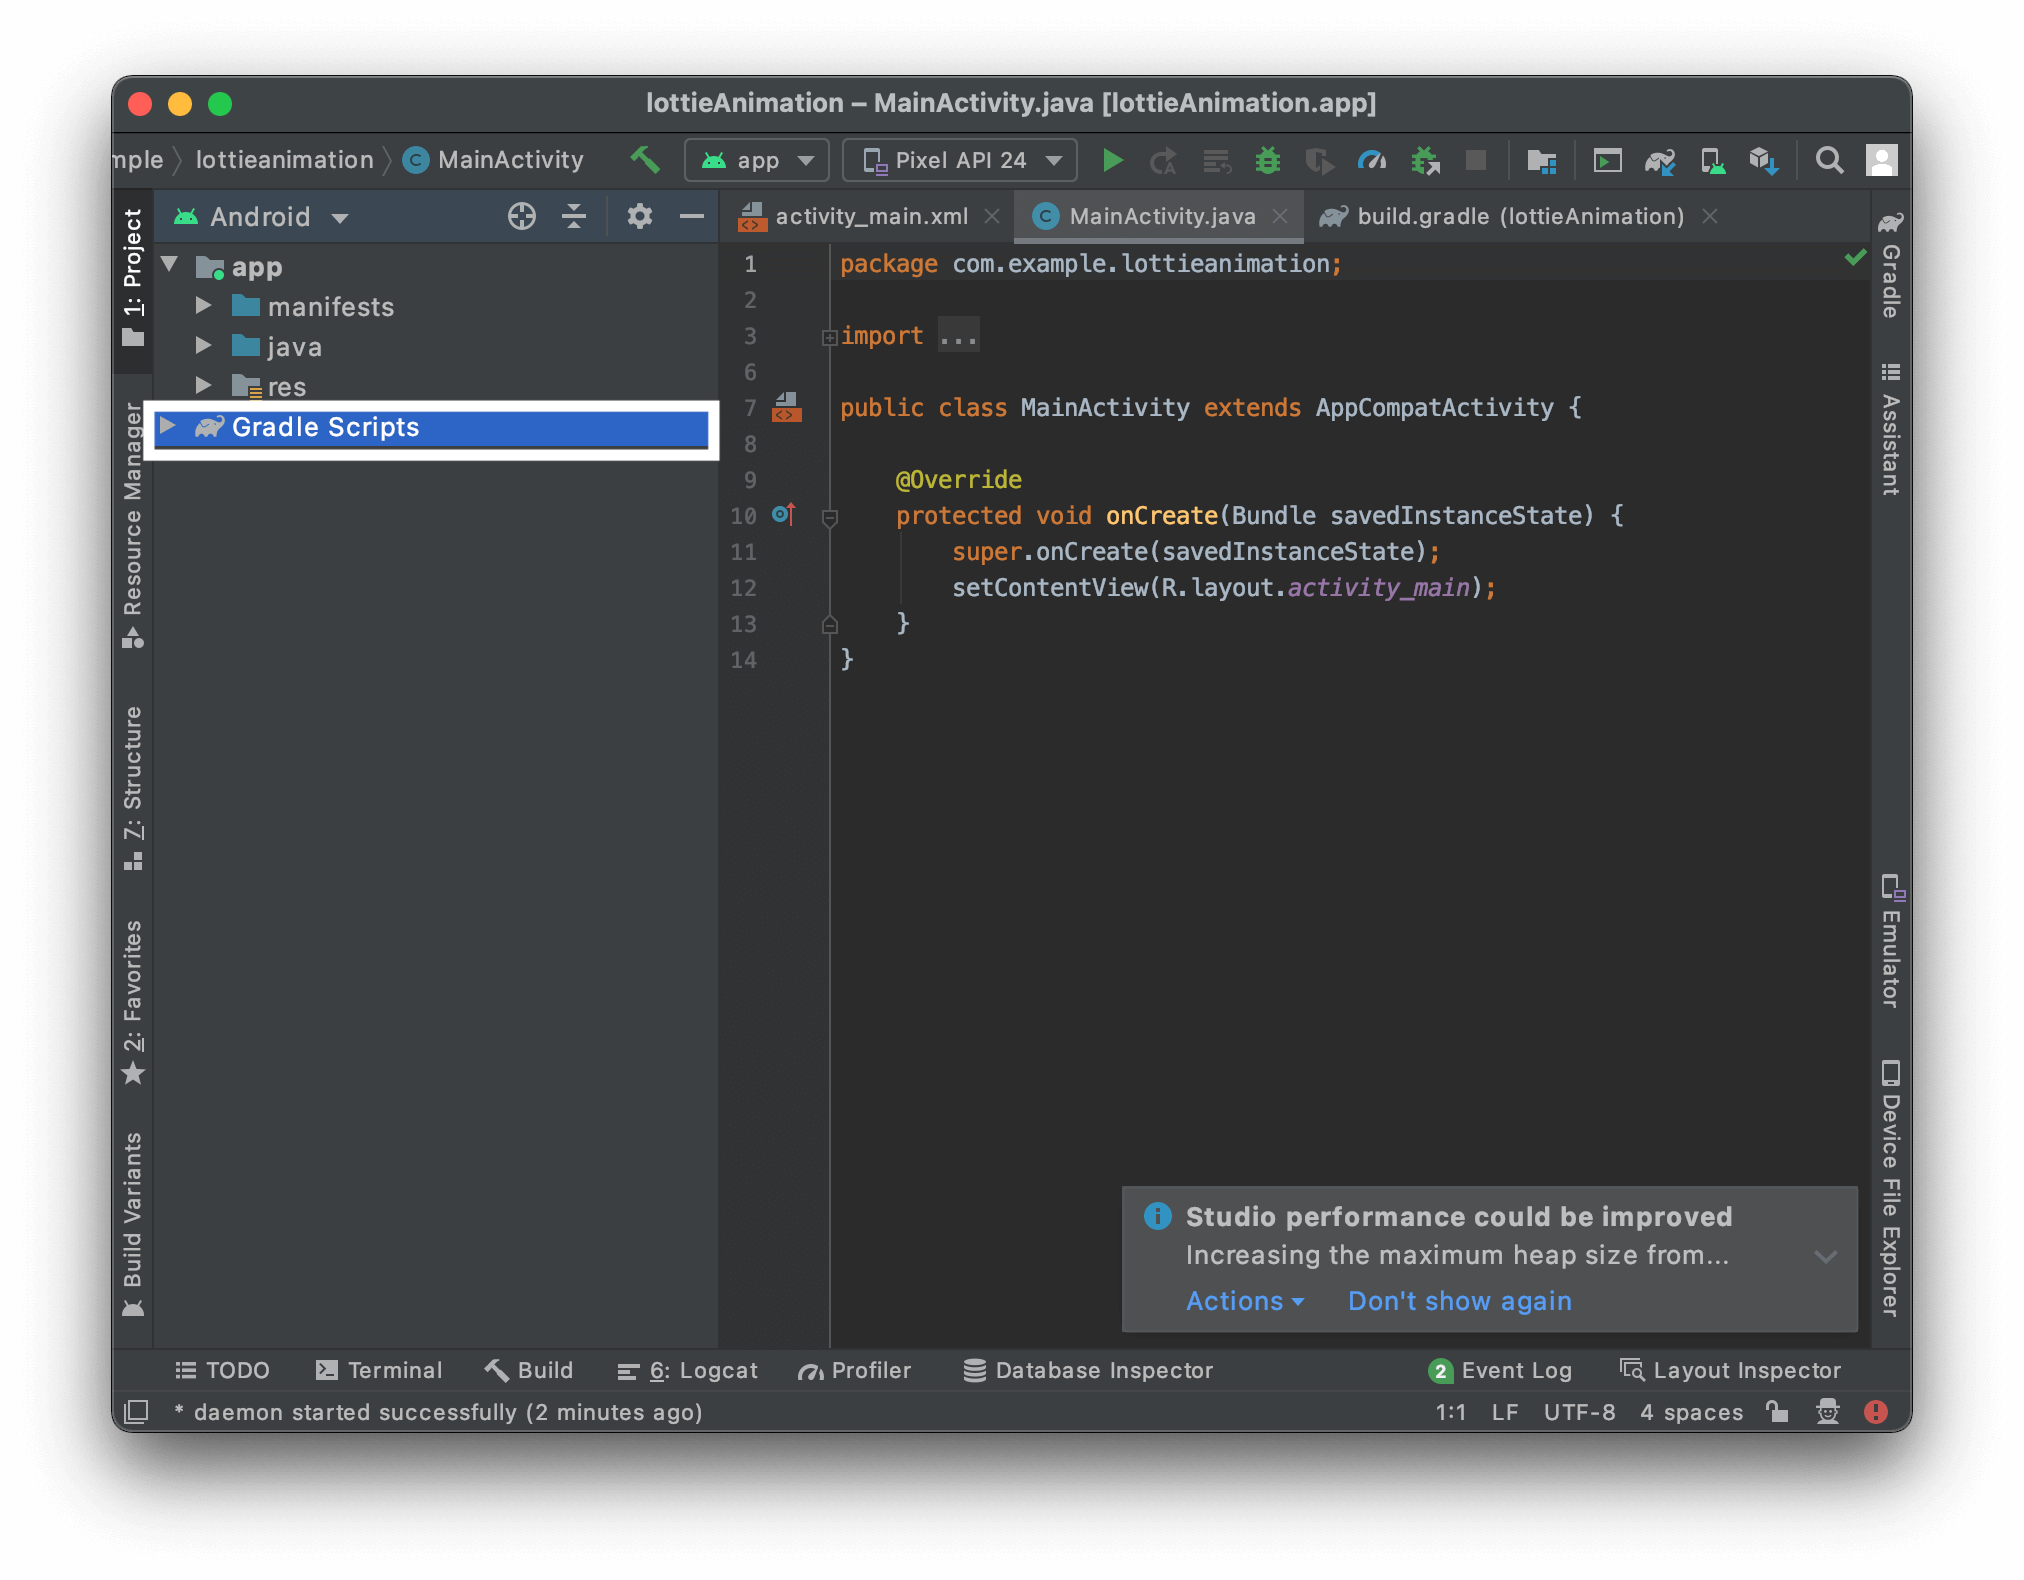
Step 2: Go to the” build.gradle” file.
Step 3: Navigate to the “dependencies” section.
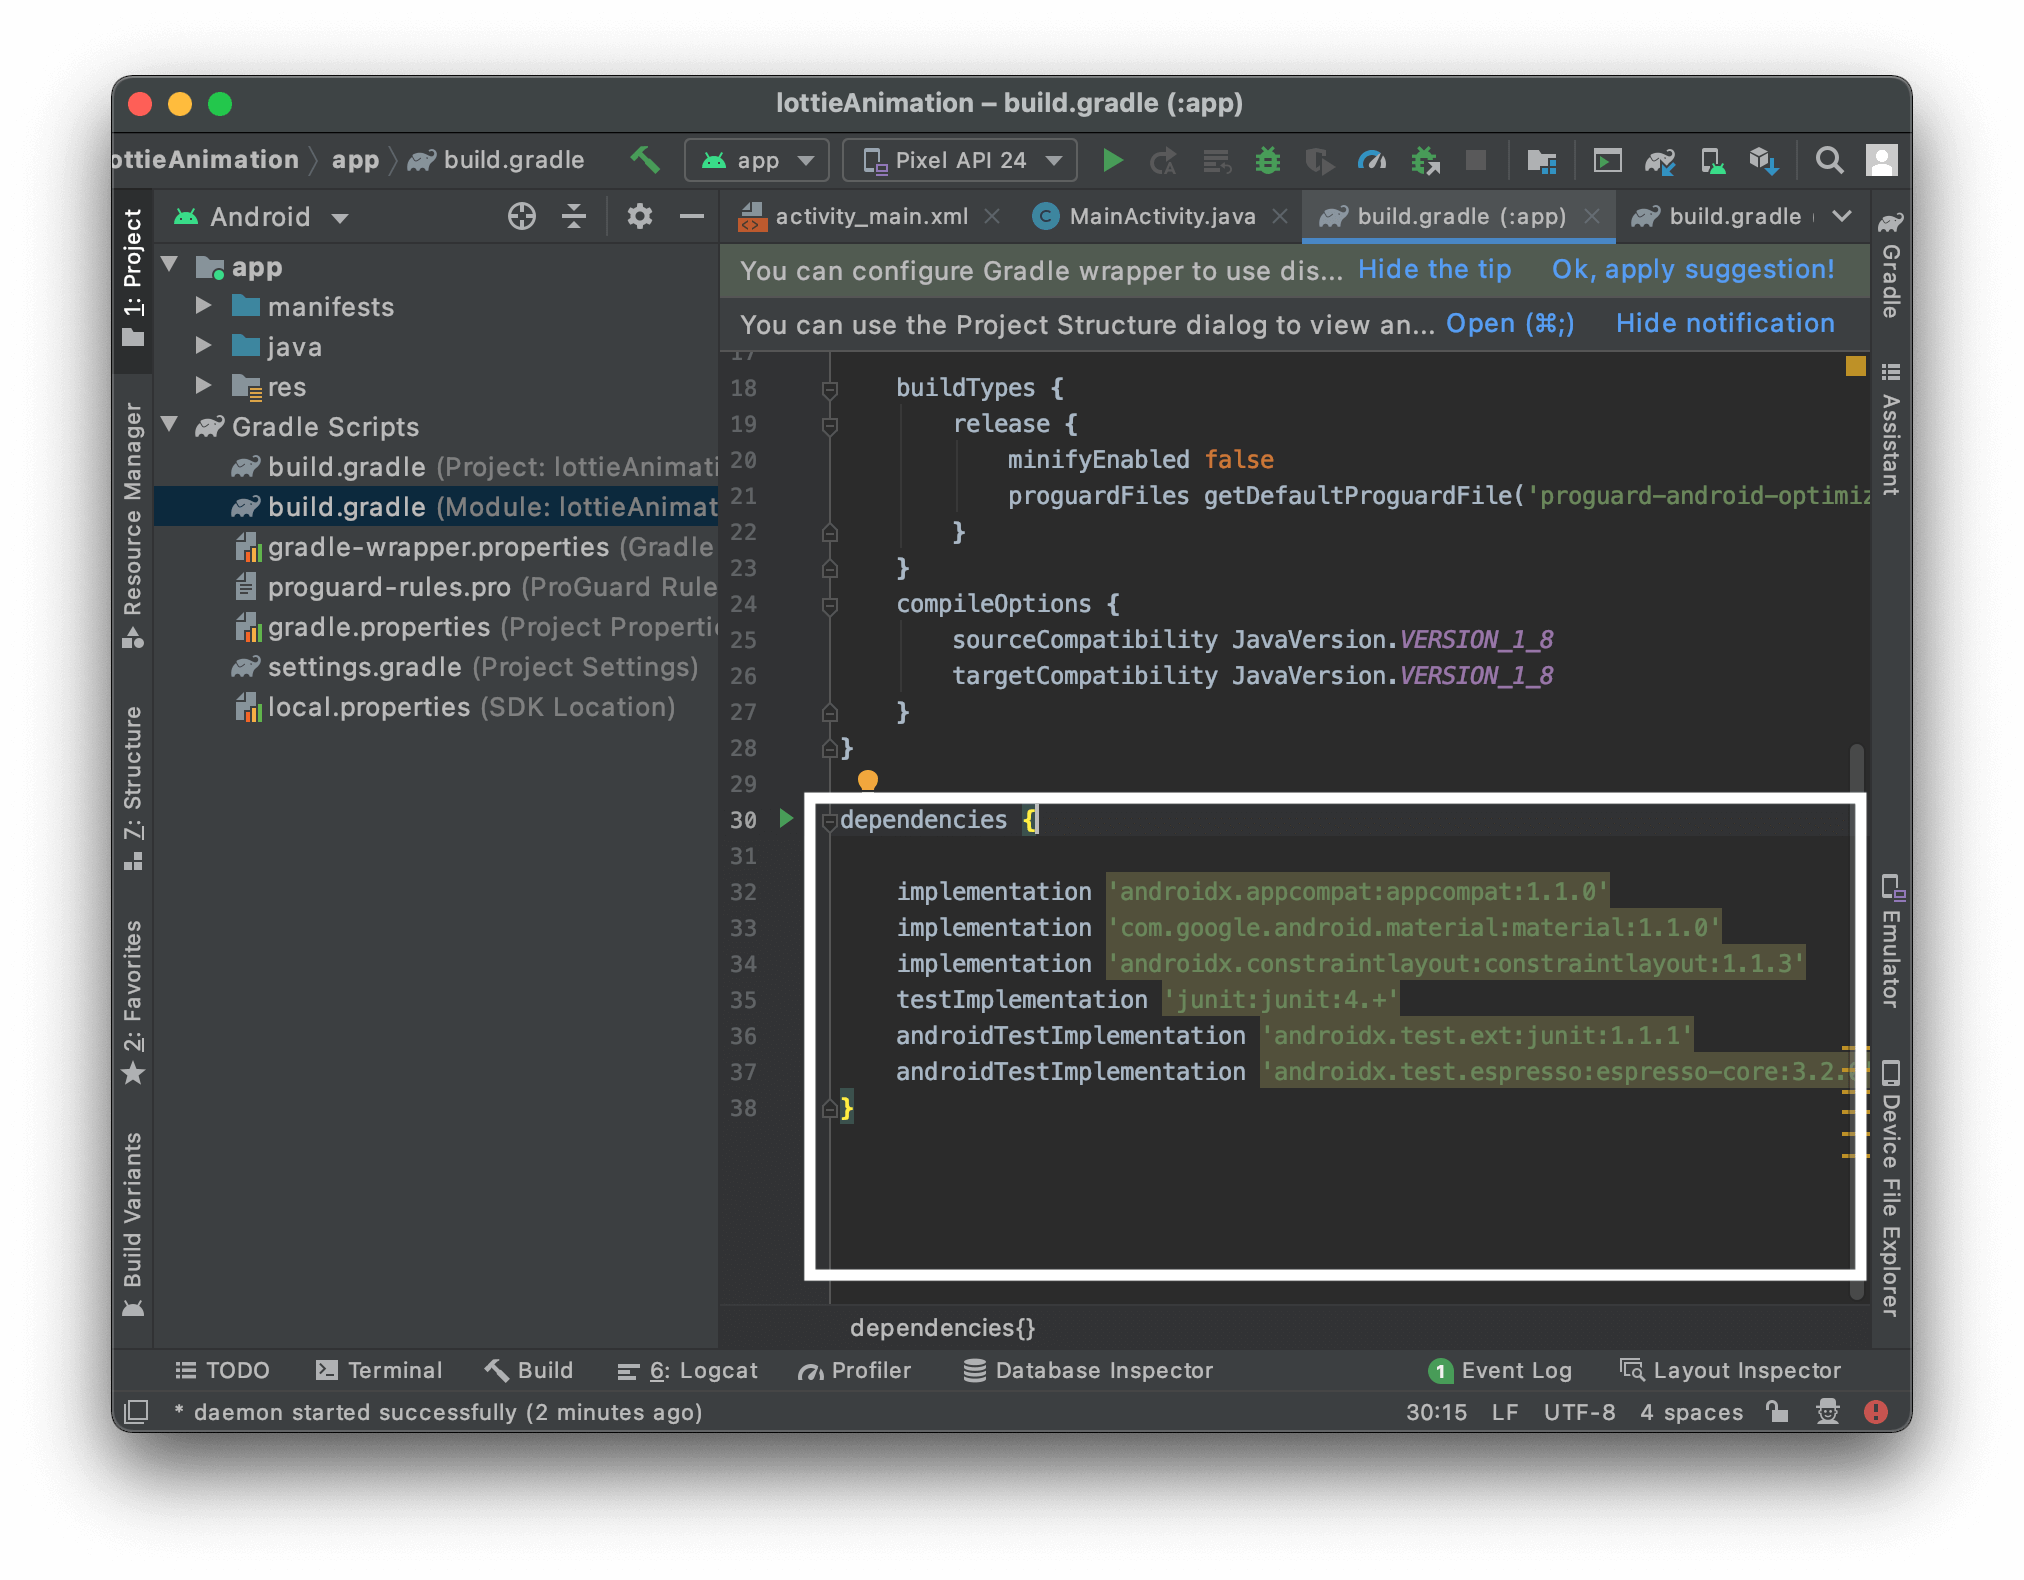
Step 4: Copy the following statement and paste it under the “dependencies” section.
implementation 'com.airbnb.android:lottie:3.4.0'
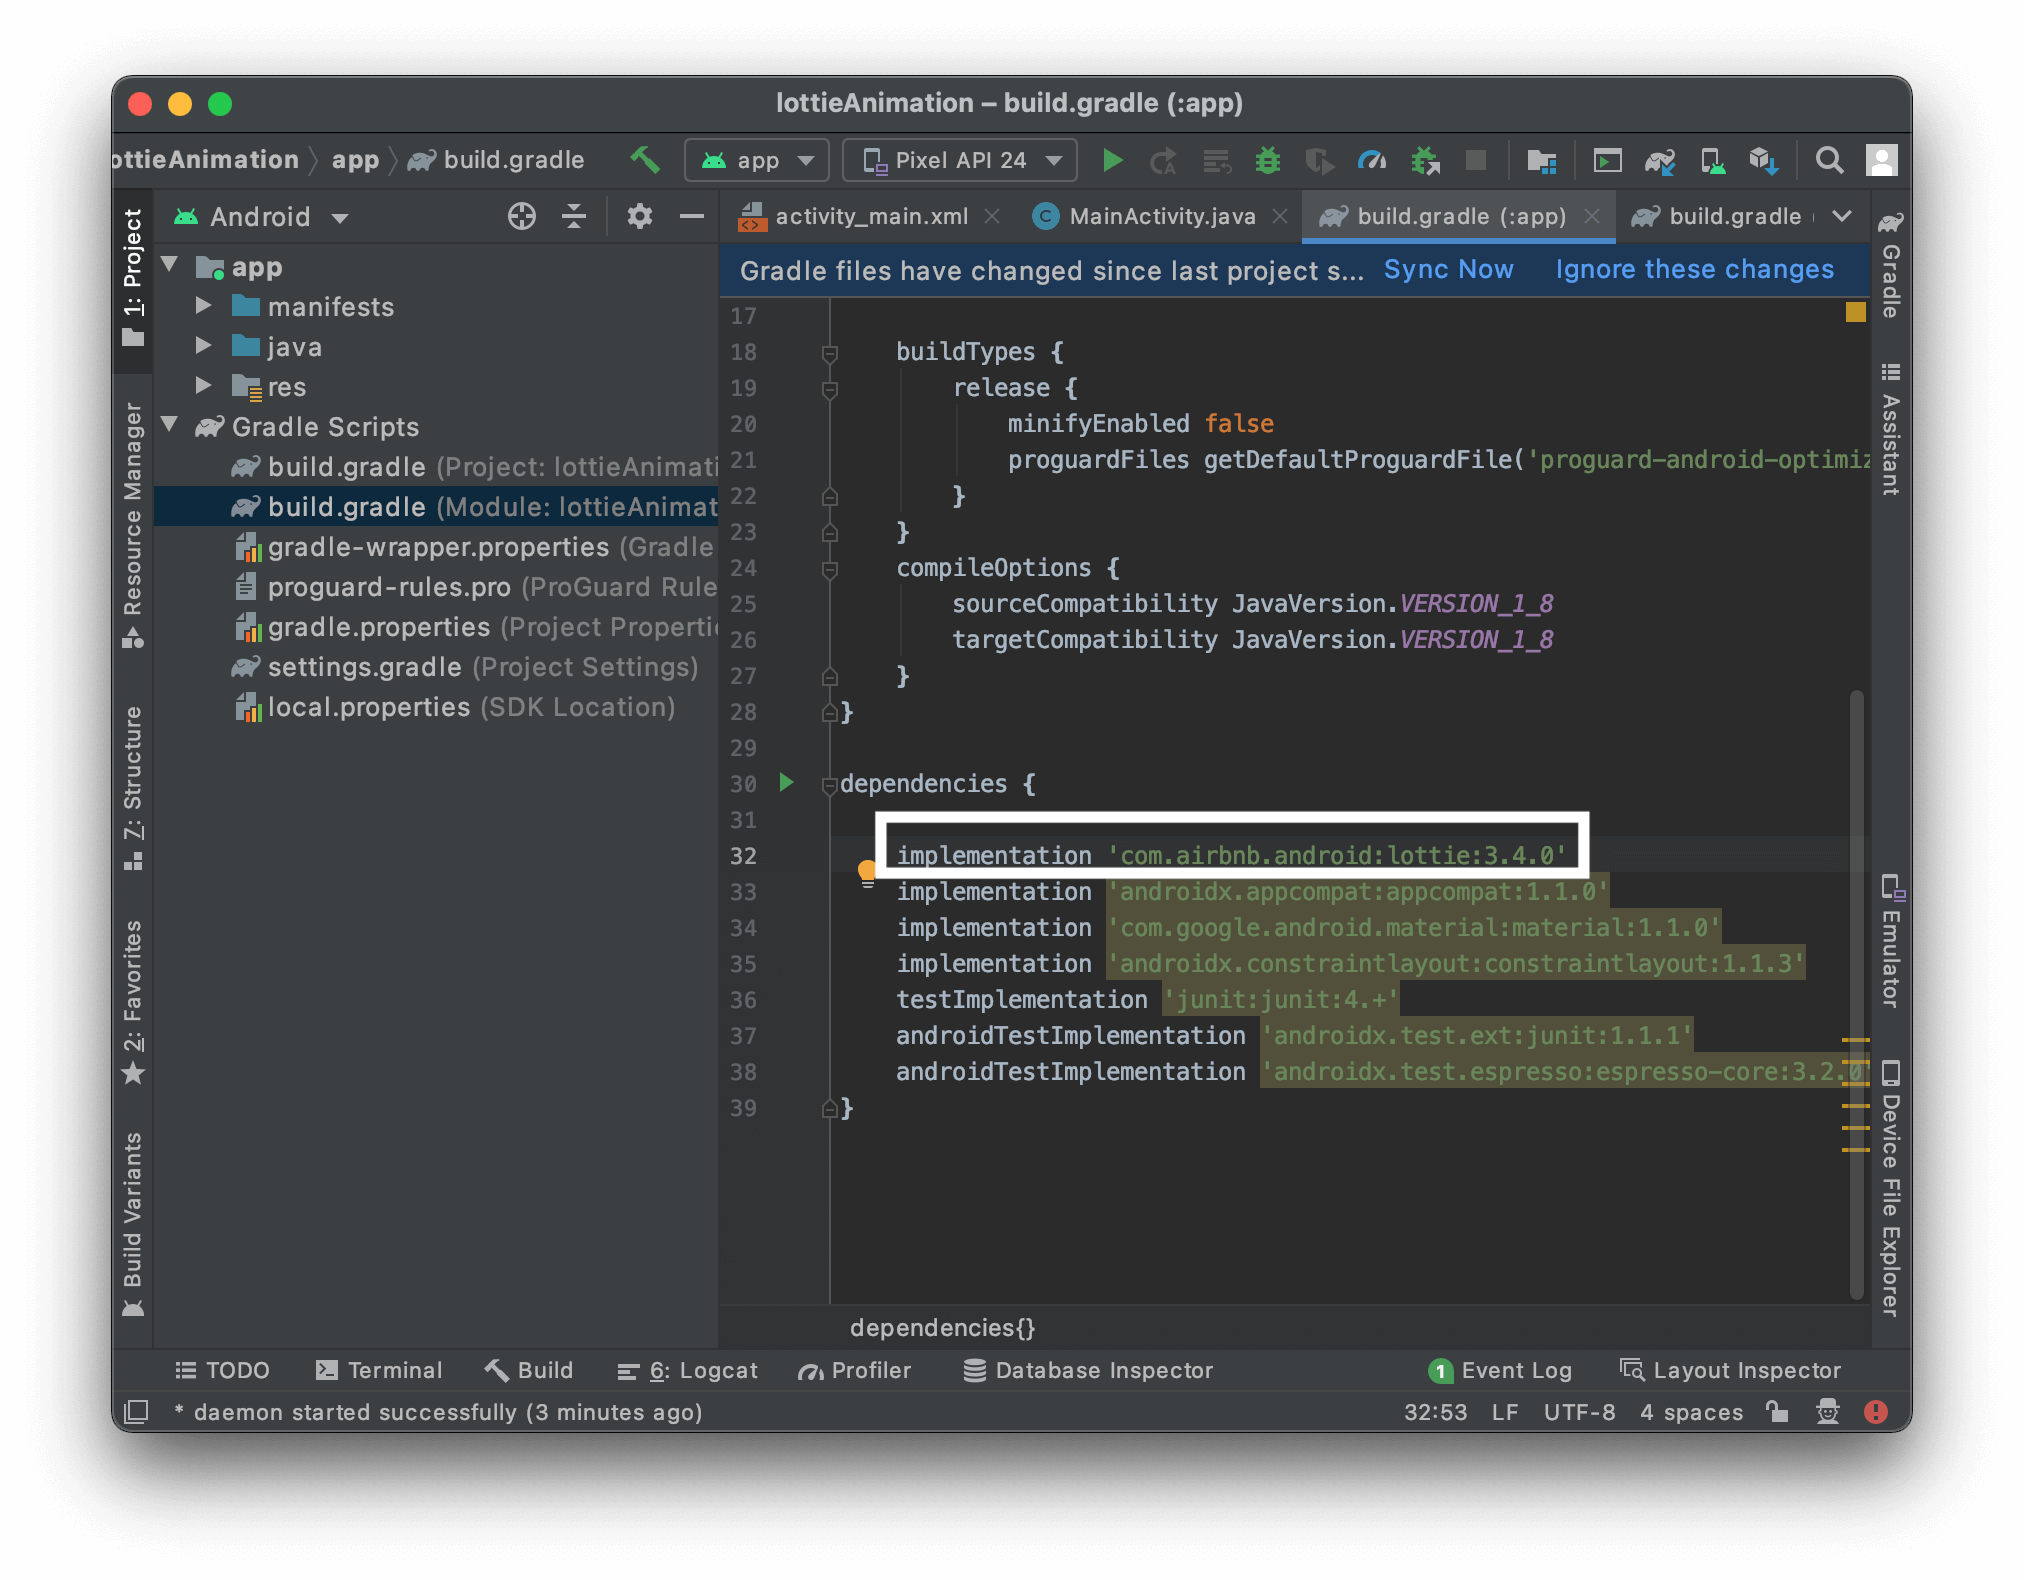
Step 5: Sync the gradle.

Step 6: Navigate to “App Directory” and right click on it.
Step 7: Click on “New” and Navigate to the “Directory” Option and Click on it.
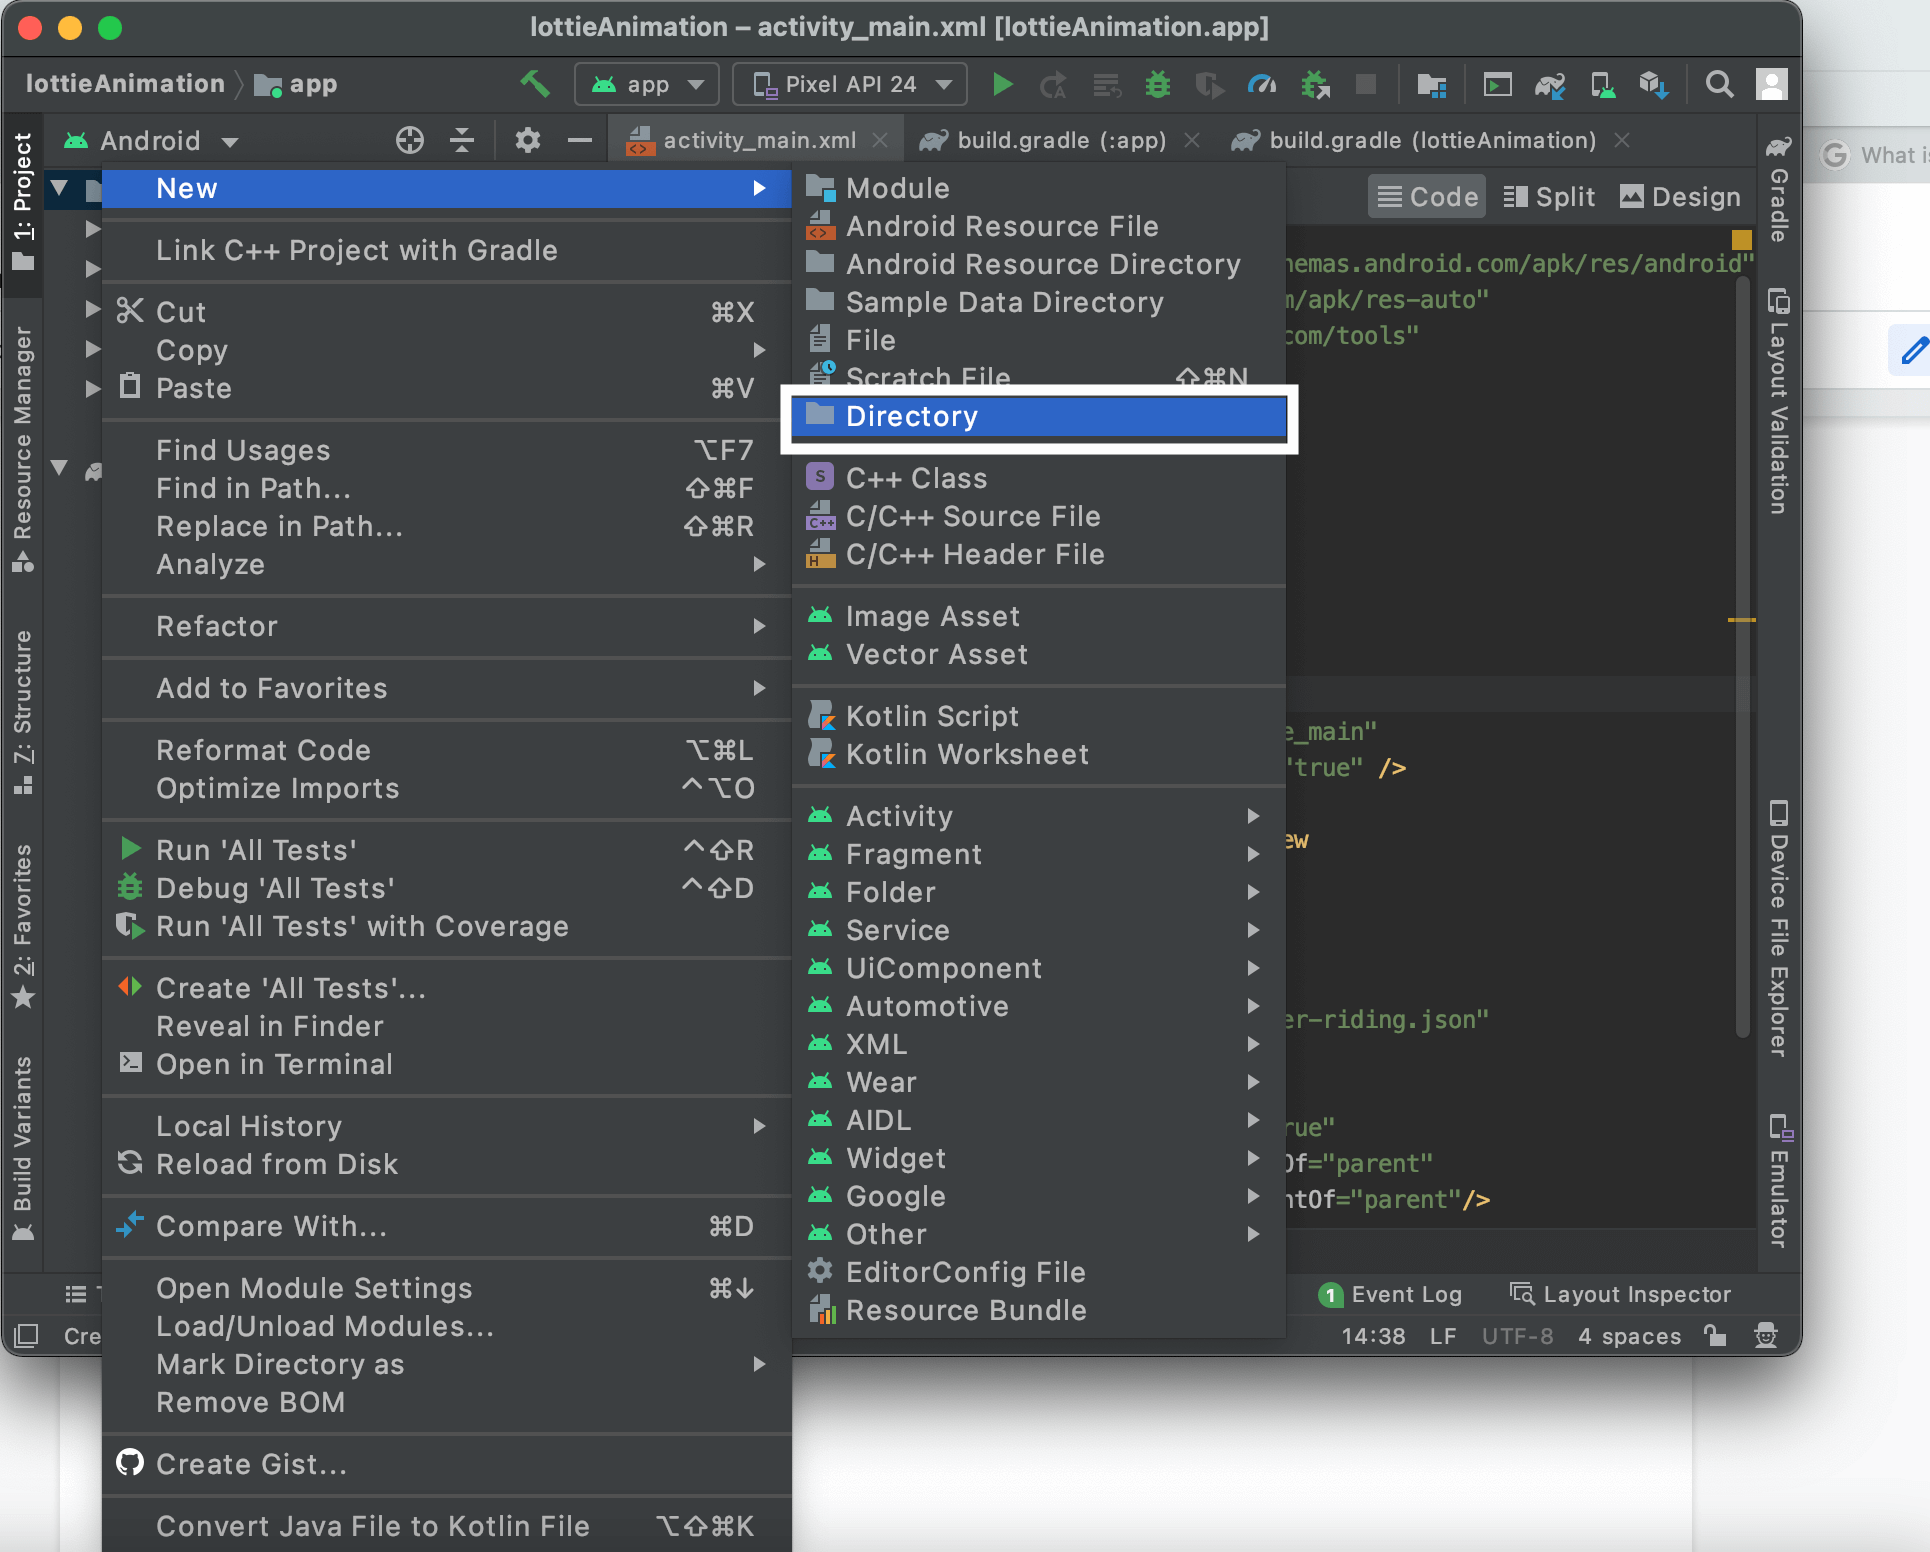
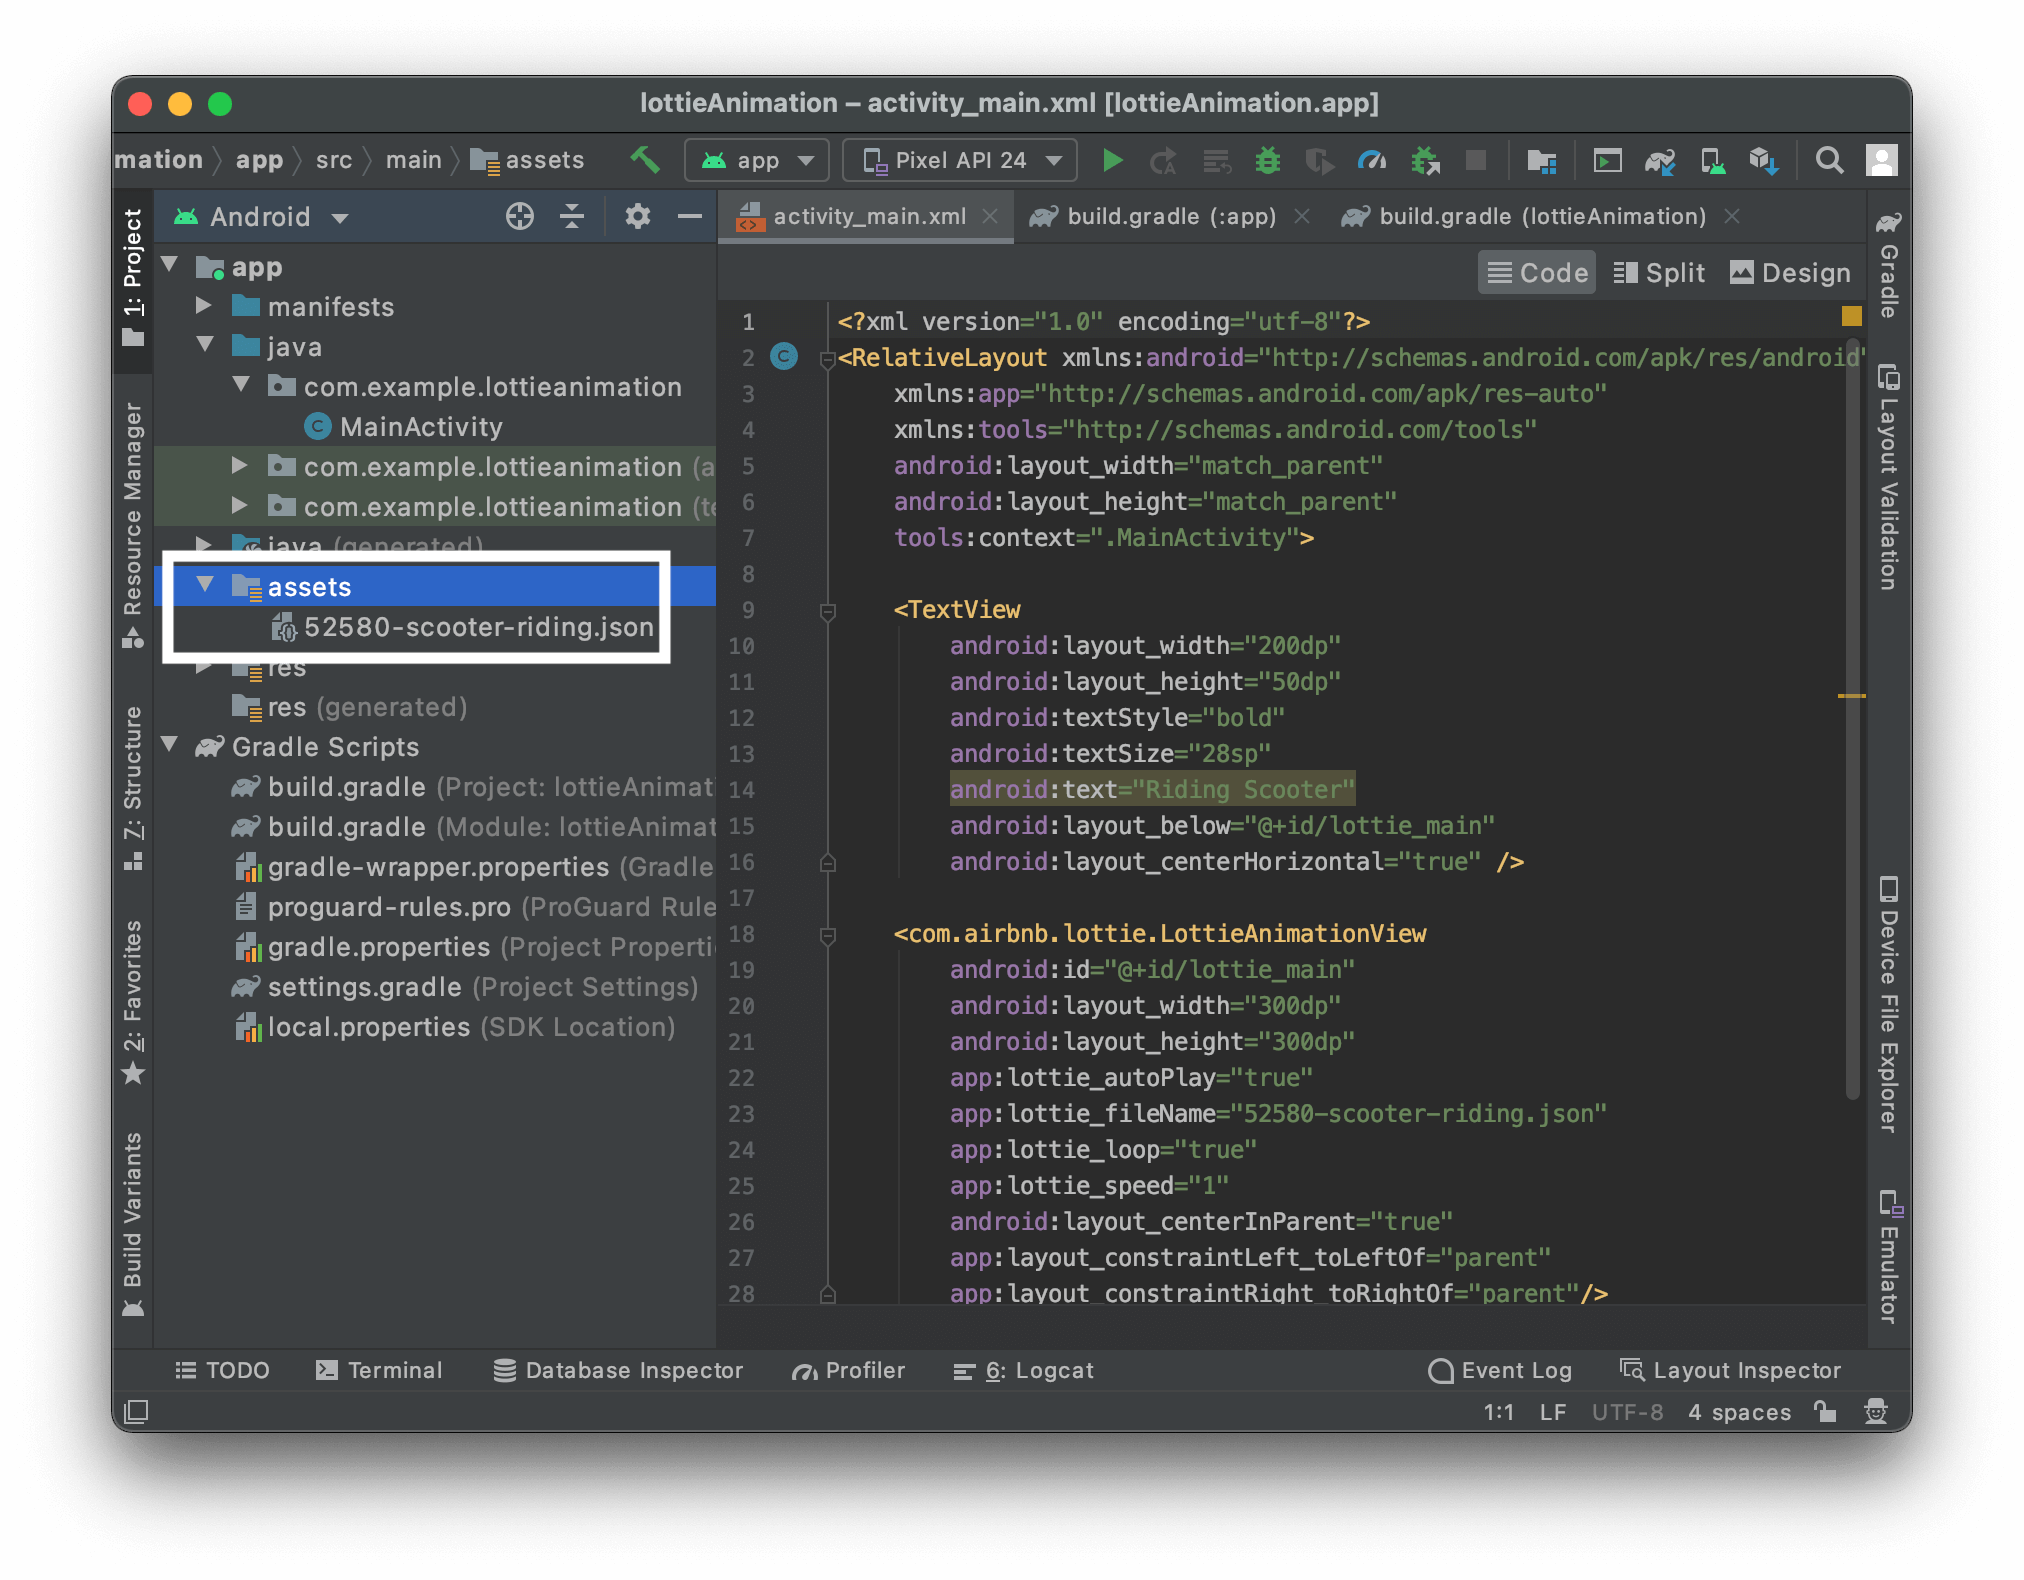
Step 8: Create a new directory named “assets” under the “main” directory
Step 9: Copy the Lottie Animation JSON file that you have
Step 10: Paste it in the “assets” directory.
4. Writing Program Statements
Now when you have your Lottie animation in it, the last thing you need to do is insert program statements and edit attributes based on your requirements.
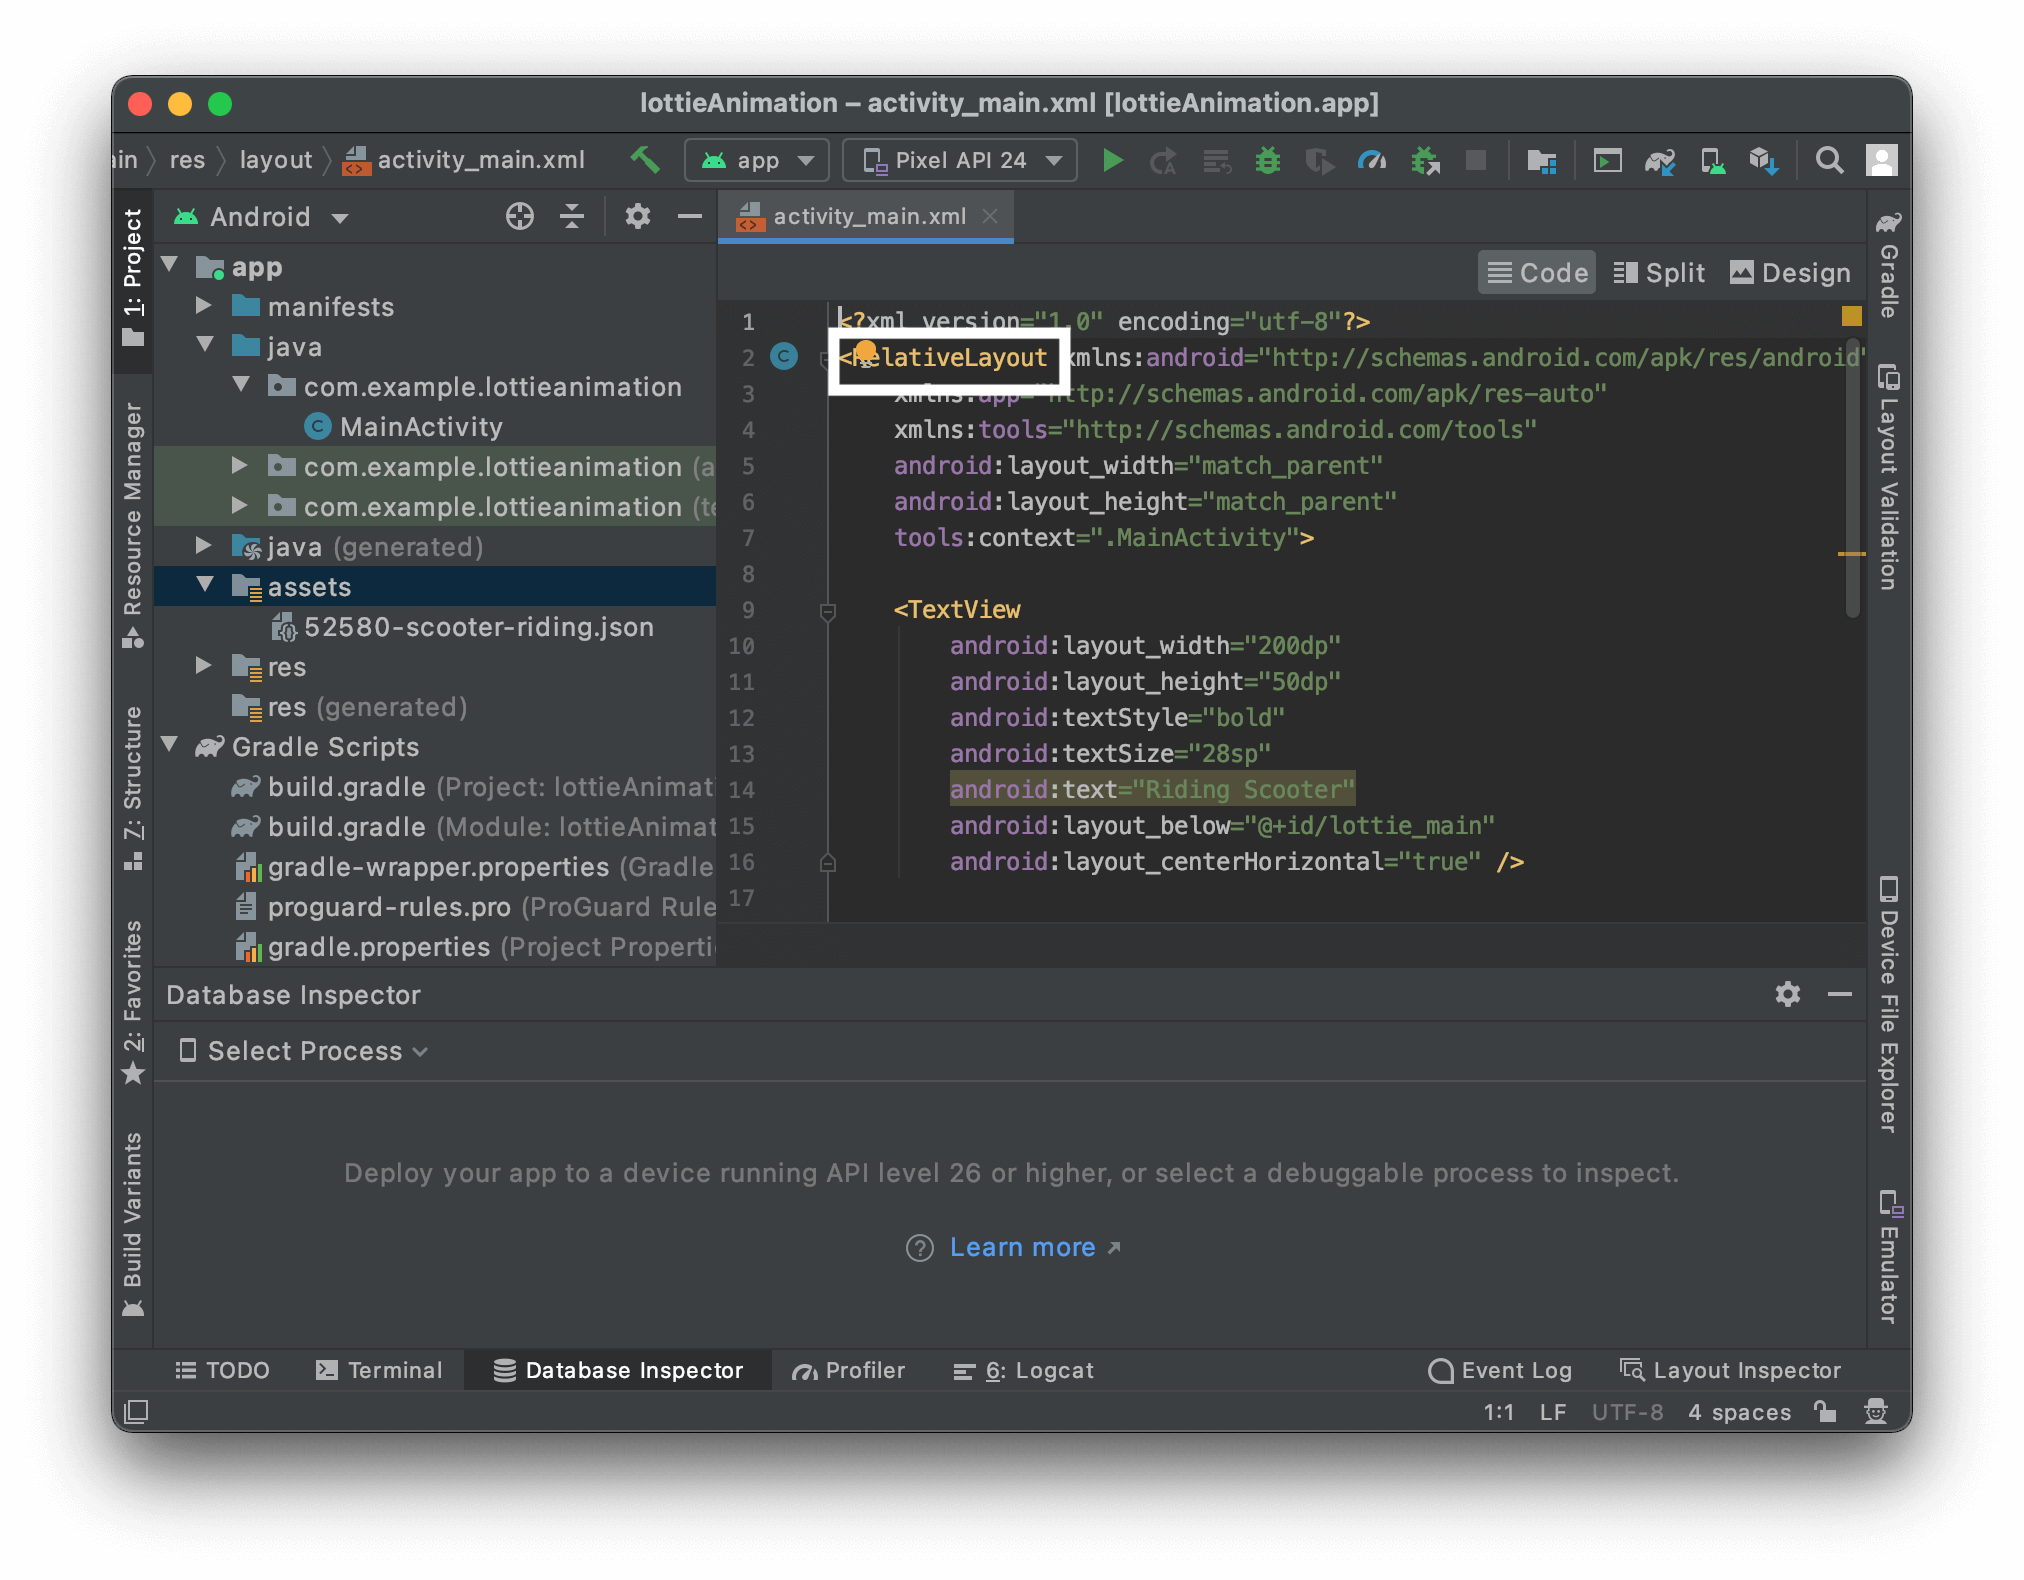
Step 1: Open “Activity_main.xml” file
Step 2: Change the “Layout” of the file from default to “Relative Layout”
Step 3: Copy the following code statements and paste them into the file.
<com.airbnb.lottie.LottieAnimationView

android:id="@+id/lottie_main"

android:layout_width="300dp"

android:layout_height="300dp"

app:lottie_autoPlay="true"

app:lottie_fileName="your-lottie.json"

app:lottie_loop="true" app:lottie_speed="1"

android:layout_centerInParent="true"

app:layout_constraintLeft_toLeftOf="parent"

app:layout_constraintRight_toRightOf="parent"/>
The attributes are customized based on our requirements; if you want to modify them, you can make whatever changes you want.
Note: Make sure the “lottie_fileName” attribute has the same name as your JSON file. Even a single character mistake will lead to “BROKEN” implementation.
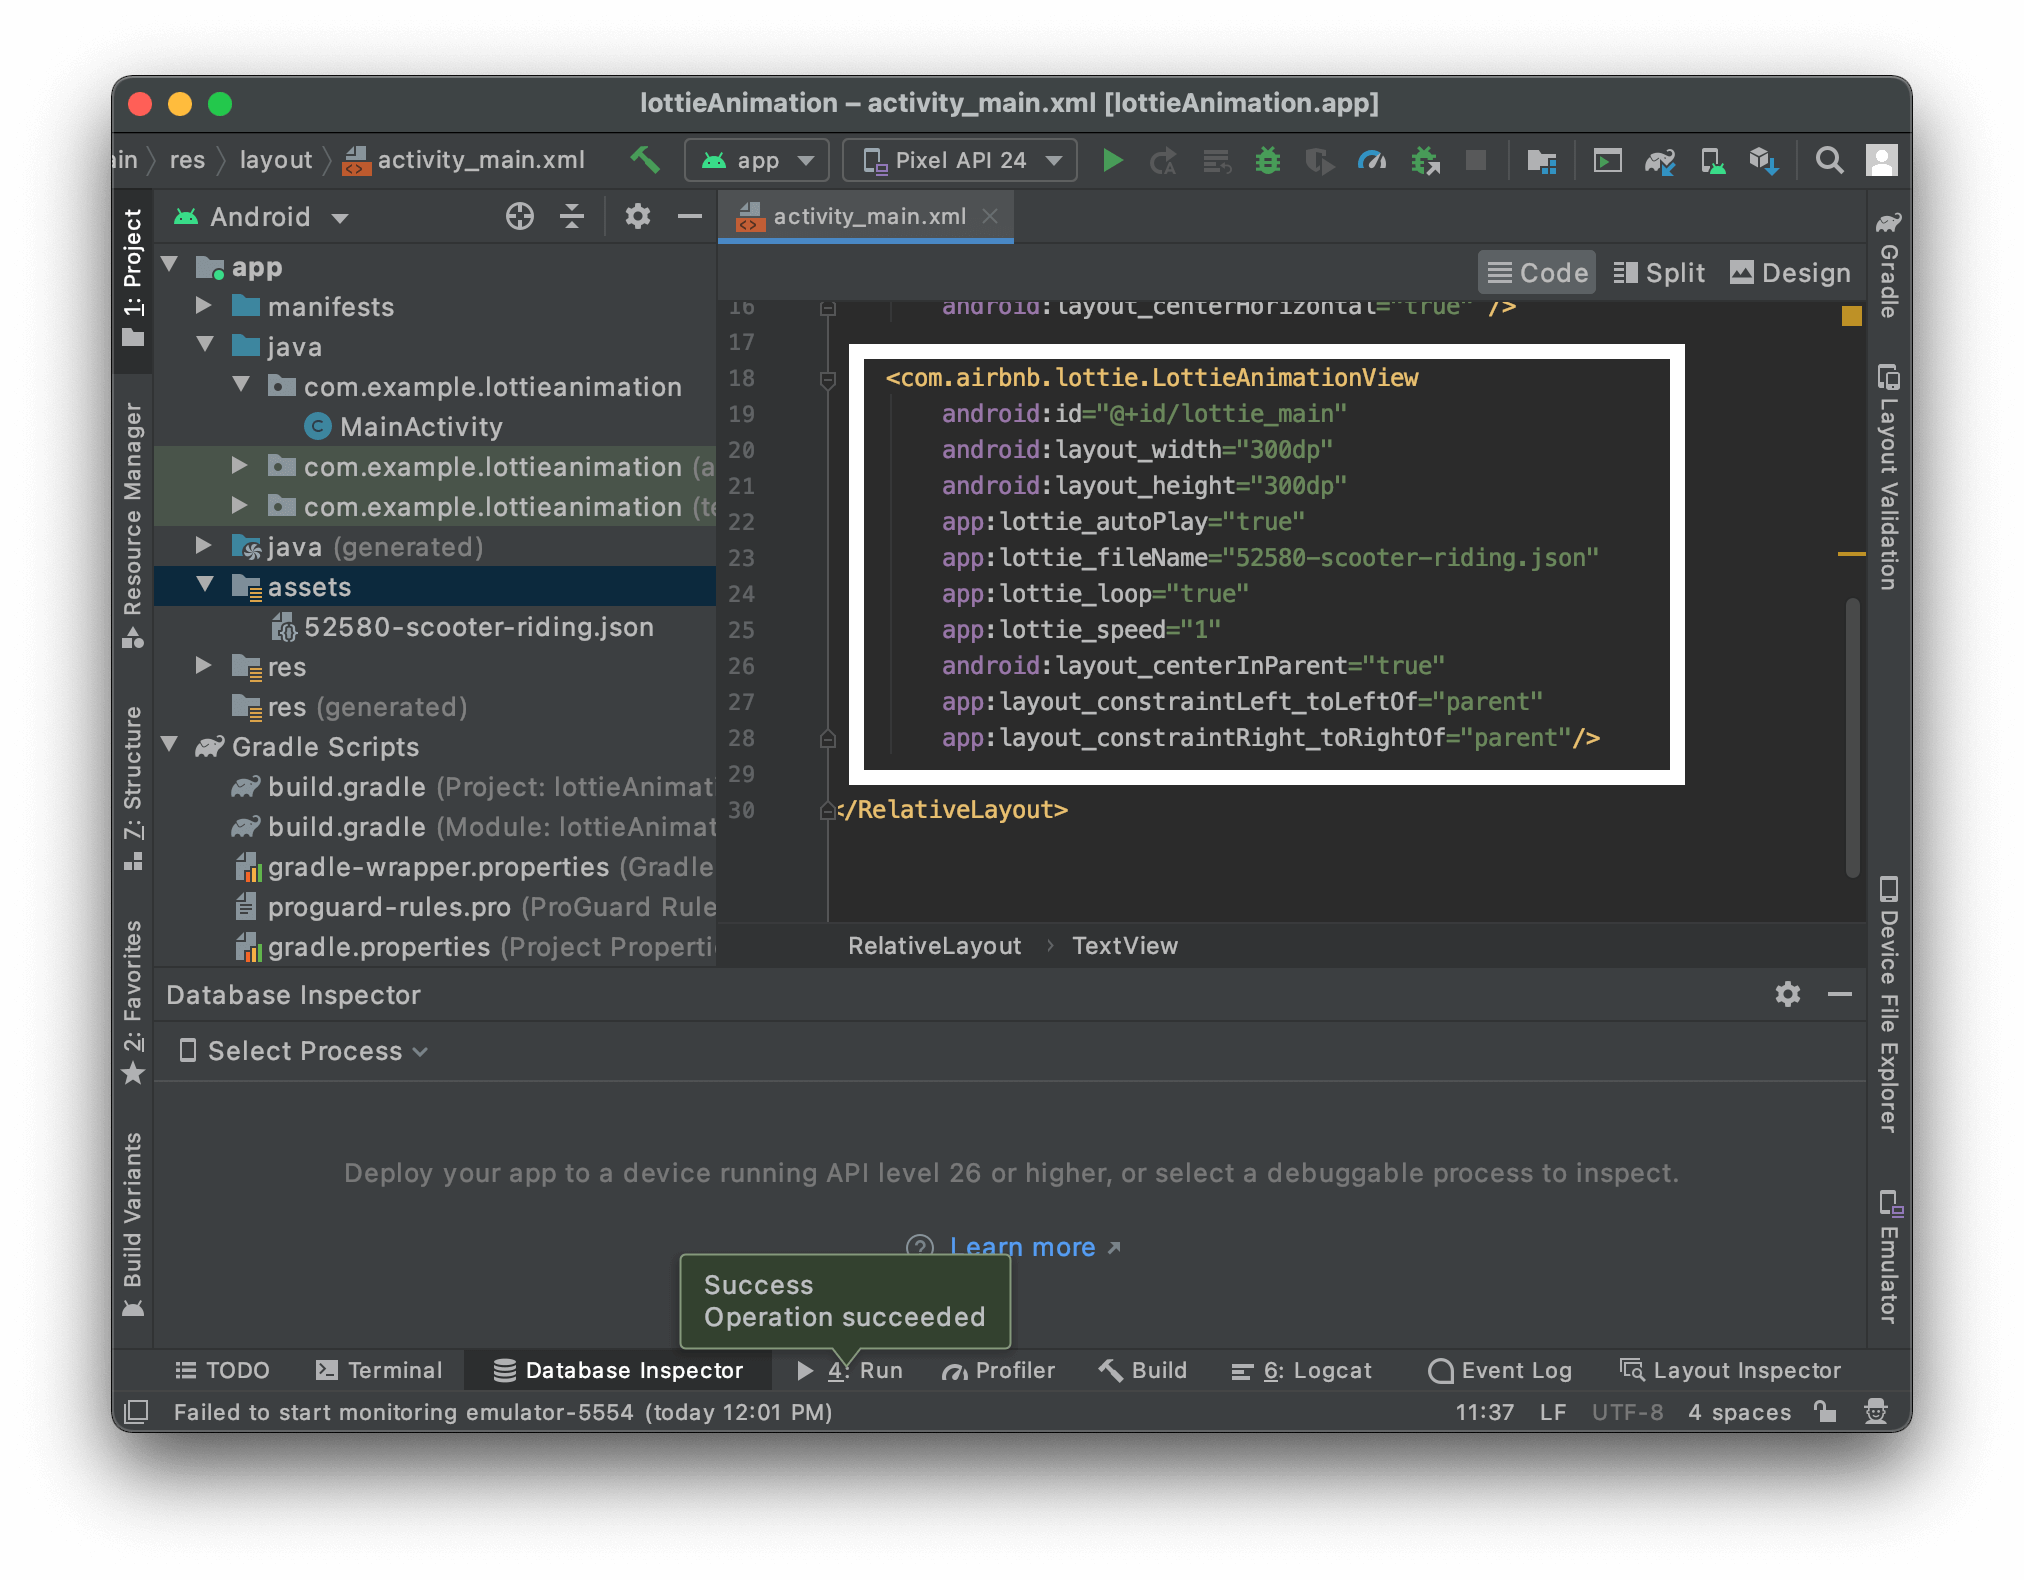
Step 4: Now, “Build” the application and Install the App on your device. If you have followed the instructions correctly, your application should be running smoothly without any errors.
Great job!
And that’s how you implement Lottie Animation in your Android Project. Feel free to play around and modify the animation by changing its attributes.