Create your design in Adobe Illustrator
Why is the best to create your illustration or design you are going to animate in Adobe Illustrator? There are two main reasons for that:
- Lottie animations are primarily vector-based animations, so all of your assets should be vector shapes. Although Lottie supports raster files, we advise you to use vectors only to ensure a small file size.
- The animation itself is created in Adobe After Effect with the help of Bodymovin plugin from Lottie. After Effect and Illustrator are compatible and smooth transition is ensured.
Keep it simple
It’s beneficial to plan and think about animation before creating a design or while you are making it. Lottie animation has a lot of advantages, but there are also a few restrictions. It is always good to keep it simple and not come up with overly complicated ideas because you can quickly run on some problems. To avoid that, check Supported features first.
From our experience, there are only a few things you really should know before you start animating.
We advise you to:
- Create simple shapes with as few anchor points as possible (it affects the file size)
- Plan your animation using only basic features – scale, position, rotation, opacity
- Avoid using raster files (it affects the file size)
- Don’t use any effects (most of them are not supported with Lottie)
- Try to avoid using masks (some browsers or platforms tend to have a problem with it and might not display your final animation correctly)
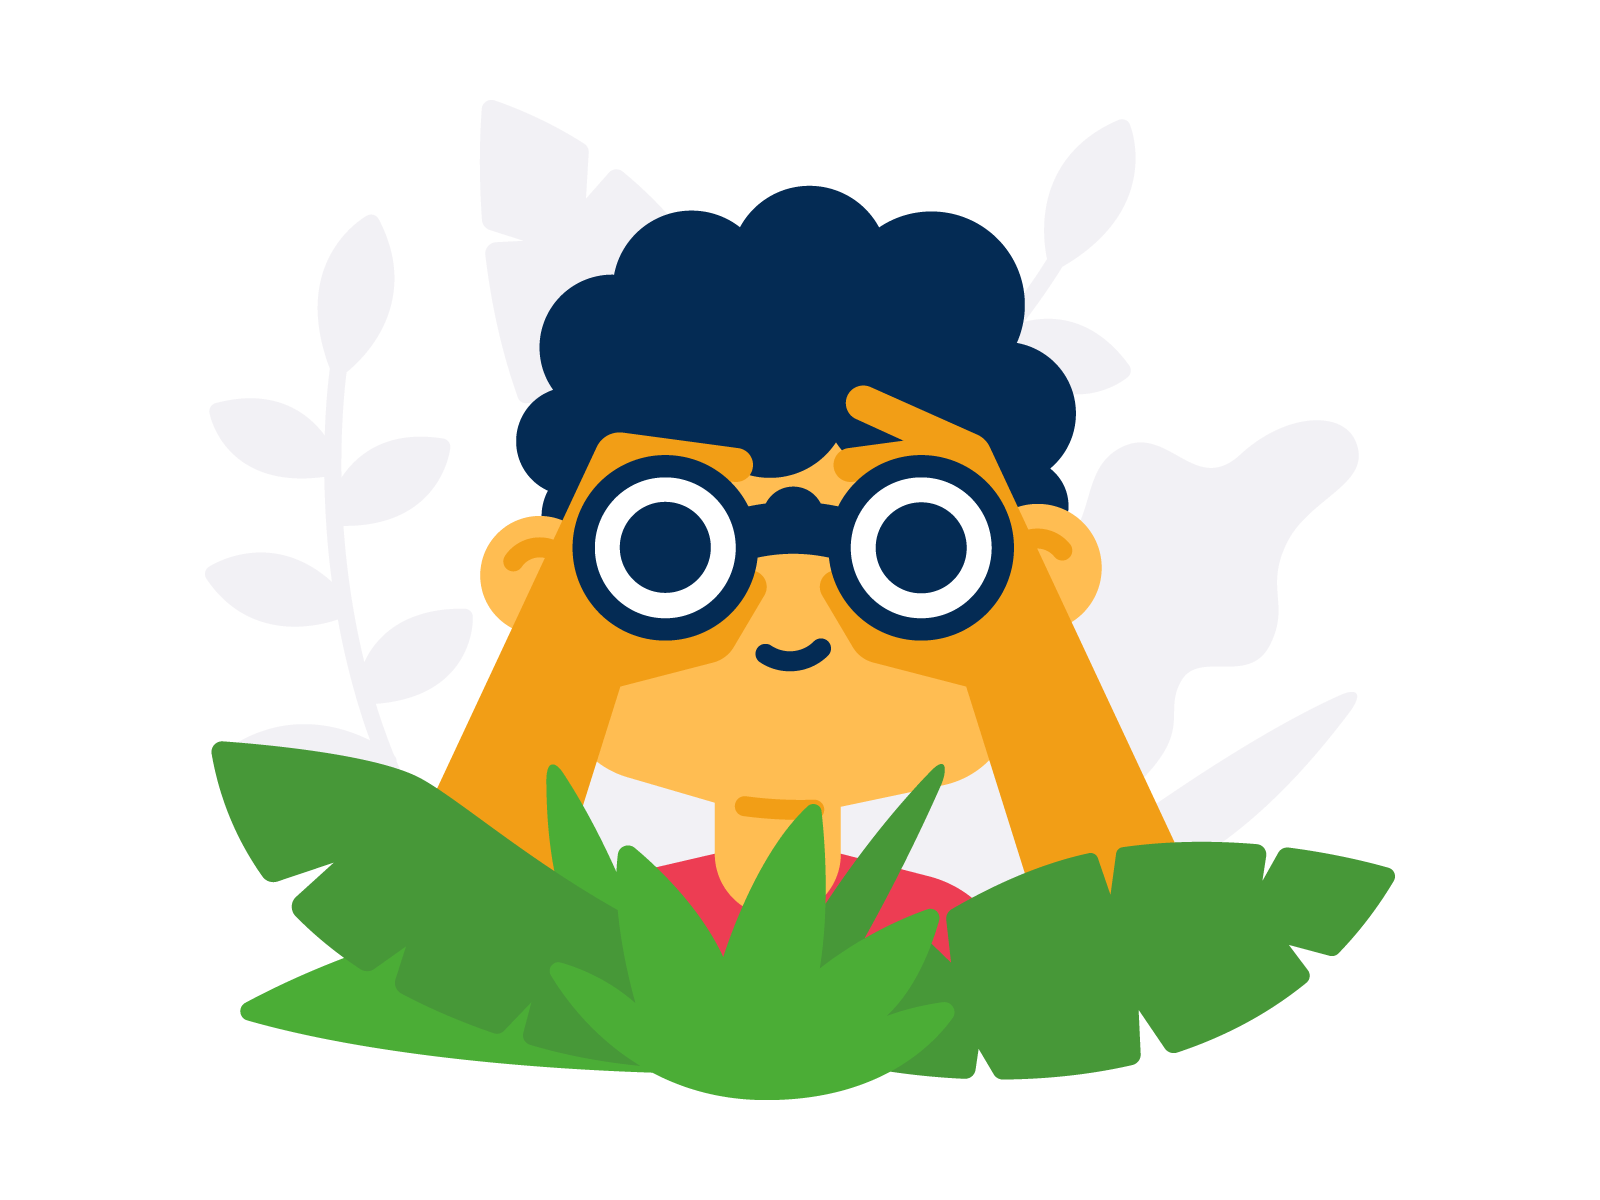
Final illustration
Group objects
This is a pretty simple, but very important and it will save you a ton of time. Take any part of the illustration you’d like to individually animate and use Command+G to group these shapes. If you like to animate a single shape, don’t group it with anything else. This step will help us with next following step.
Create layers
After your shapes/groups are ready, you will designate them into layers so you can manipulate them in After Effects. Every individual item you want to control when you animate needs to have it’s own layer (our groups will help us here).
To create a new layer, use the shortcut Command + L or click on the + icon. You’ll end up with a new empty layer where you need to move your item (group or single shape). Now you can move around your items in the Layer panel using drag and drop.
Or you can use a more straightforward solution. Select the layer with your design, click the hamburger menu icon at the top-right of the panel and select the Release to Layers (Sequence) option. This will put each individual shape into its own layer. After, select all the layers and drag them outside of the layer they’re all in. You can delete the empty layer.
Ensure the layers’ order is correct, and the design you created looks the same after you broke it down into the layers.
Name your layers
If your layers are ready and well structured, it’s time to name them correctly, so you know what specific item you are going to animate. It could be time-consuming, and many designers tend to skip this step, but you (our colleague animator) will have a much better understanding of what things are once you’re working in After Effects.
To rename your layer in Illustrator, double-click the layer name in the Layers panel and type the new name. It’s also good to be specific and name things exactly what they represent or where they are located. For example, if you are going to animate eyes, it’s good to name them as eye-left and eye-right to ensure the animator knows which one is where.
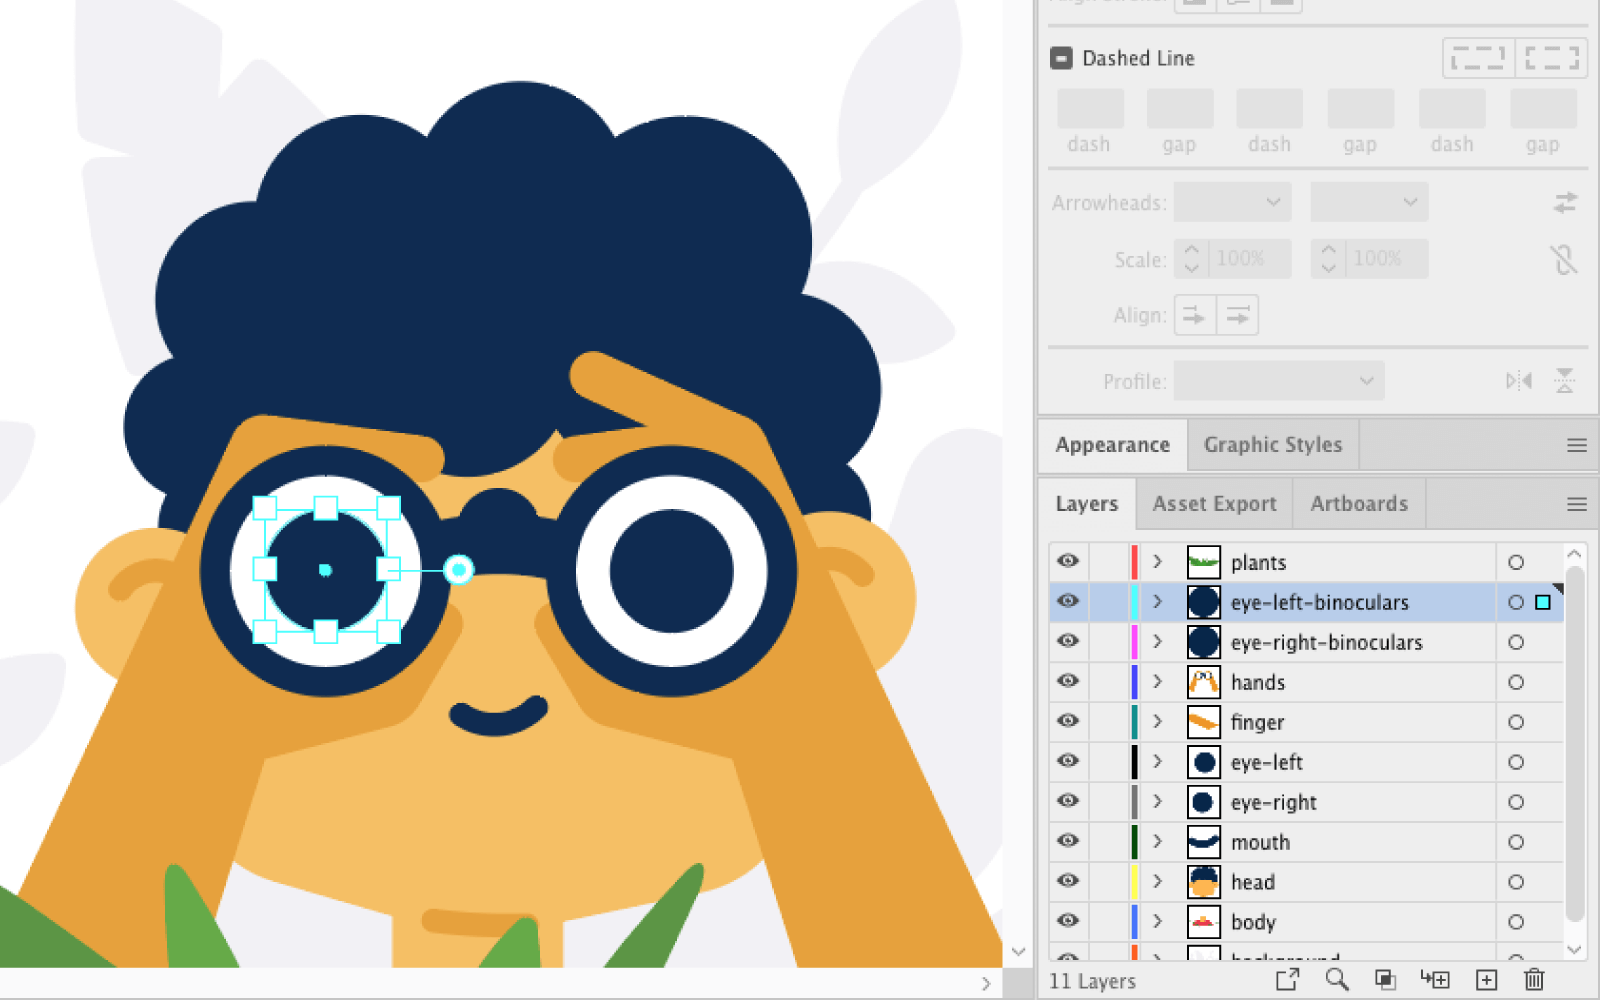
Correctly named and ordered layers
Save your design
It seems stupid, especially when used to autosaving everywhere, but it’s good to remind yourself to save your work (not only at the end but continuously). There is no need to save it in a different format. All you are going to need for animation is the .ai file.
Hurray!
That’s it; your design is ready to be animate! Not that difficult, right? Now hand over your illustrator file to an animator and wait for a spectacular result. 🙂
Final Lottie animation